This weekend, I went on my first camping trip in probably 25+ years.
My brother in law, his wife and children are all heavily involved in Boy Scouts and are old pros at the camping scene; but due to some pretty rough experiences camping as a kid, my idea of camping since I’ve been an adult has been a stay at the Ramada Inn. I know this may seem odd, considering my affinity for dirt, rocks and growing things- but the thing is, I love to work with nature, I just don’t know if I love to SLEEP in it. However, my recent camping experience was no where near the nightmarish memories of my youth and I think I’m even willing to do it again!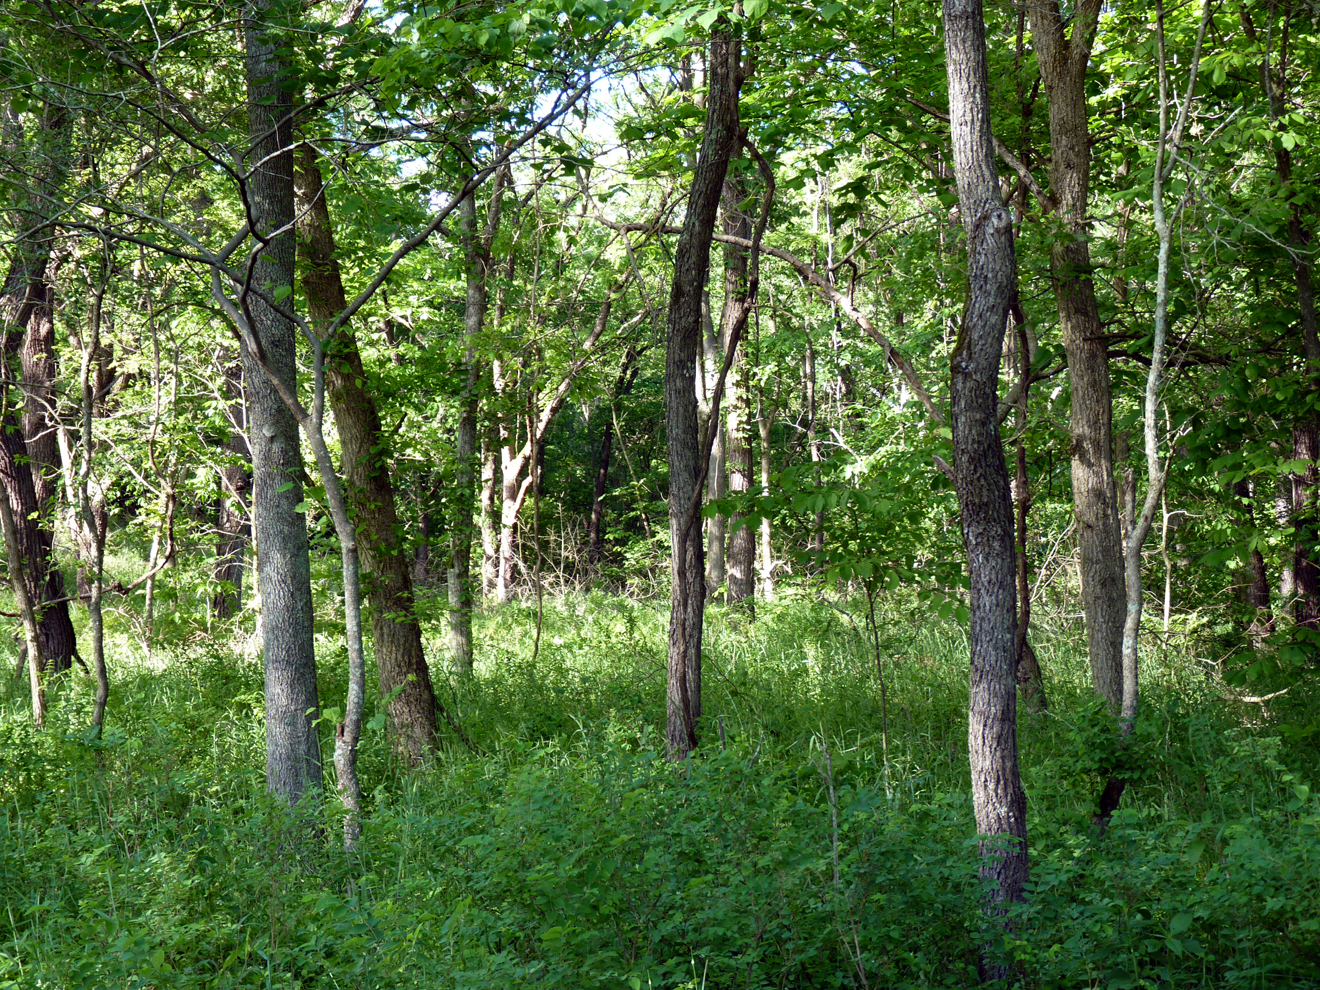
The Fiery Fork Conservation Area is just east of Climax Springs on North State Highway 7, if you blink at Granger Lane, you’ll miss the sign. Last summer, the fields below the campgrounds were planted with sunflowers that were higher than my head (doesn’t take too much, I’m only 5’5″). There are several creek areas; it is the Fiery Fork Creek that the park is named for, all winding together to empty into the little Niangua River. Camping at Fiery Fork was my idea. I had driven down there a couple times last summer and discovered it was a really pretty area, not too busy compared to other parks in the Lake Area and conveniently, only about 5 miles from our house. In other words, close enough to go home if I couldn’t commit to spending the night under the stars.
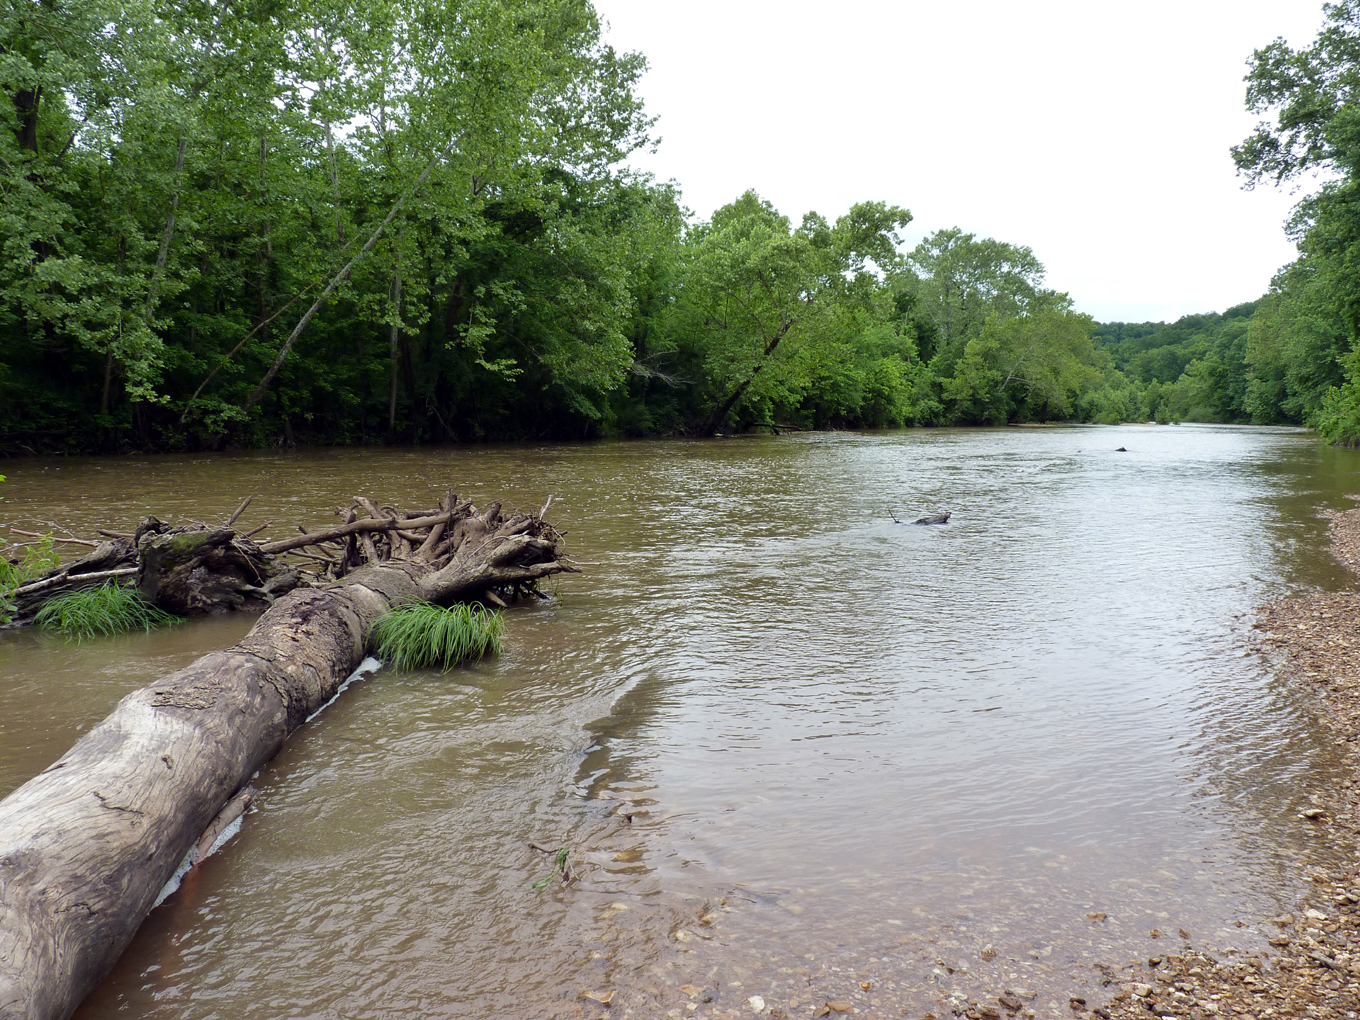
Last summer, at the peak of the drought, the river was only thigh-deep and much calmer, the water clear enough to see the gravel 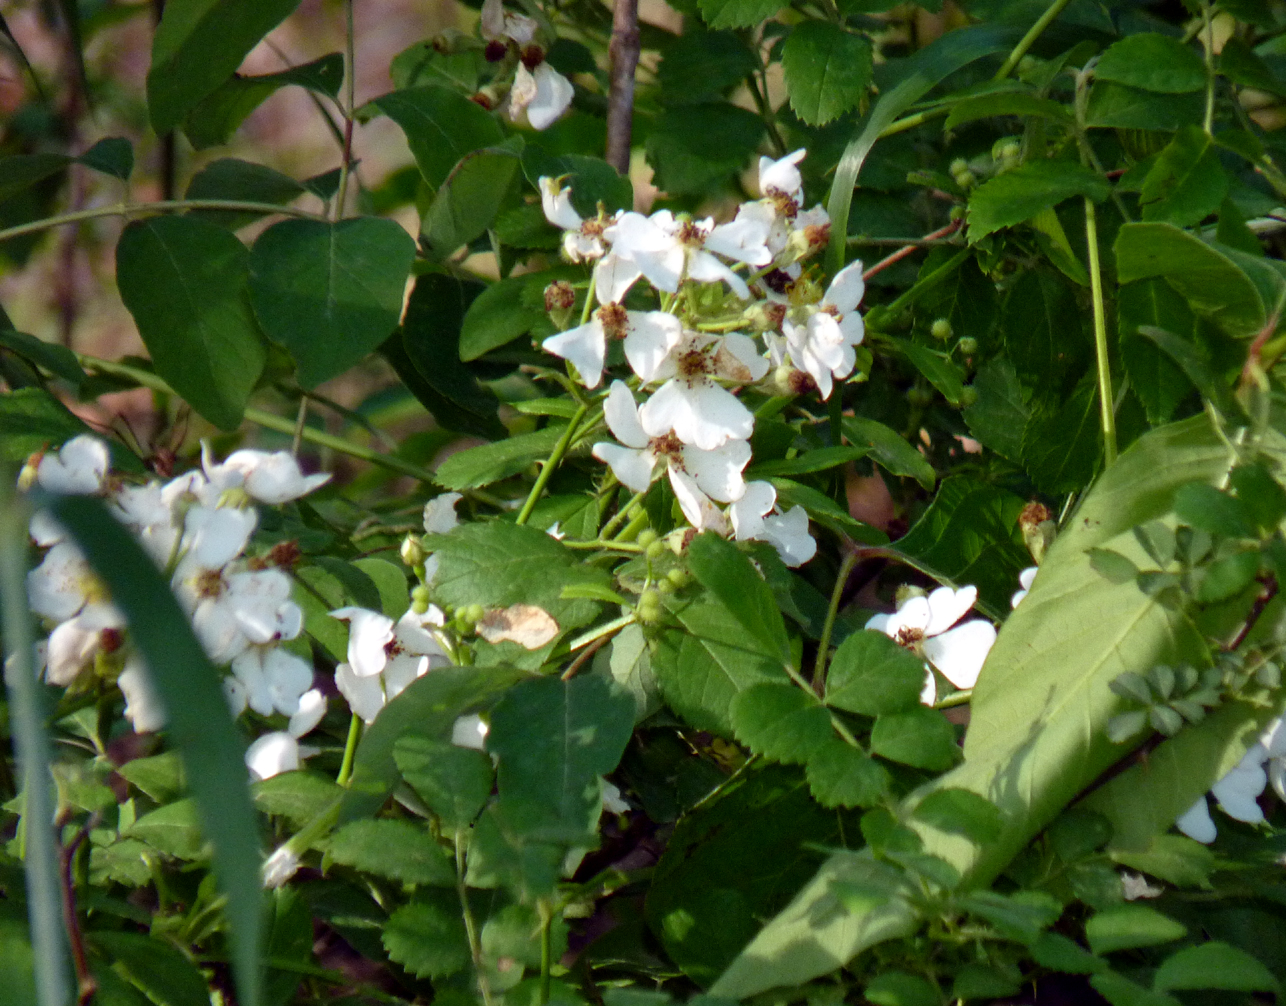 bottom. Someone has tied a rope swing to the trees across from the river access; a sandbar that is usually large enough to park a couple cars or launch a canoe from. When the water is in its normal, more tranquil state, the riverside is the perfect Country-Time Lemonade Spot. This weekend was the end of a very rainy couple of weeks; the river was crazy-full and running very fast, it looked like there was a fair amount of storm debris in all that muddy water too, so we didn’t attempt to swim in it, but took the kids to the creek instead. They explored, saw minnows, held a tadpole, slid around on the moss-covered bridge and collected rocks.
At the campsite, we made Smores around the campfire, grilled hot dogs and breakfast burritos. The campsites are primitive, which means no electric hookups or potable water- but the sites are large and an outdoor toilet is available near each campsite grouping of 4-5 sites each near the river. There is accessible parking near the toilet area and a paved ramp to the wide gated doorway. No sink or running water, take wet wipes with you!
We had an entire camp area to ourselves, due to the earlier rainy weather, but Saturday evening was clear, sunny and only upper 70’s. The campsites have a metal fire pit with a grate attachment over them for cooking; some of the campsites are right on the Little Niangua; we opted for the wooded area near the creek crossing, it turned out to be the perfect spot for my 4 year old and her cousins to play. The kids set up a badminton net at the adjacent campsite and played a few games before our evening meal.
 The Missouri Department of Conservation site mentions hiking trails from a quarter mile up to a mile and a quarter, marked in blue paint on the trees to find your way. Some of the trails intersect with state and county roads or private property. Hiking wasn’t high on the list of things to do for my camp-mates or the kids, so I just took a few short walks near the campsite and by the Fiery Fork Creek; there is some really gorgeous scenery to look at.
Overall, it was not a bad camping experience. I did discover that a sleeping bag would be a wise purchase before spending a night outside again, I forget that temps in the upper 50’s are REALLY cold if you don’t have a house to protect you! Bug repellent comes in very handy here as we found many, many ticks. I managed to avoid being bit; just wear light colored clothing so they are easy to spot, that way you can remove them before they bite. Missouri woods are full of deer and other wildlife that ticks like to munch on; with all the rain this year, they are especially prolific.
Bring some firewood with you if you want a fire for warmth, or charcoal for cooking if you don’t have a propane camp stove. The park service makes brochures available at the campsites with rules and regulations of the area. They request that visitors do not cut trees or limbs to get fire wood. We brought along enough for ourselves plus the next 4 or 5 visitors and there was some wood at our site already where the previous occupants had left some as well. So… if you forget your wood, you might check neighboring campsites.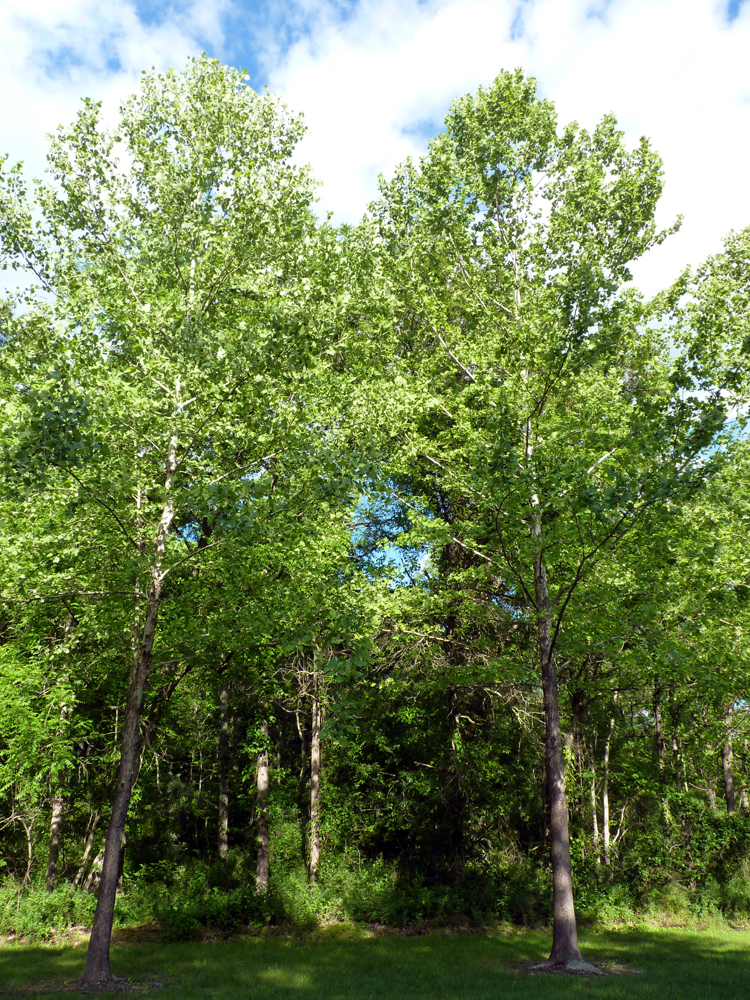
I heard whippoorwills on and off all night, an owl or two and one lonely coyote howling. Fiery Fork Creek was home to frogs, tadpoles, tiny minnows, crawdads and water snails. It flows over the road and drops off the other side in a rocky waterfall ending in a small deep pool below before continuing on towards the Little Niangua. Most parts of the creek I was able to walk in Wellies that were just under knee-high without them taking on water.
There was thick forest all around us, but fields across the road and the creek running along and behind the camping area. The Conservation department keeps the grass mowed in and around the campsites. I may have to return to the creek later this summer and do a walk-through to explore more. I love following and exploring creeks in summer, but there are increasingly fewer places to do this around the Lake without encroaching on private property.
I think what I liked best about Fiery Fork is that it’s enough removed from the Osage Beach tourist mecca to offer a little quiet exploration, but close enough that it’s convenient to drive to. You can truly immerse yourself in nature here without loud boat engines or wave runners to interrupt the peace and quiet. There aren’t any shops or billboards, there are views of filtered light through tall trees, clear water and plenty of woods and fields to enjoy. 🙂