This article originally started out as a planting guide for those seedlings I’ve been raising, but then I realized there might be a bit I could say on the subject of where those seedlings will be going once they are ready to move outdoors. Most of you already have your gardens in for this year, unless you live in the northernmost climes. Here in Missouri, I normally have my garden in and established for several weeks by the middle of May; however, it was still snowing the first week of May this year so everything got a late start.
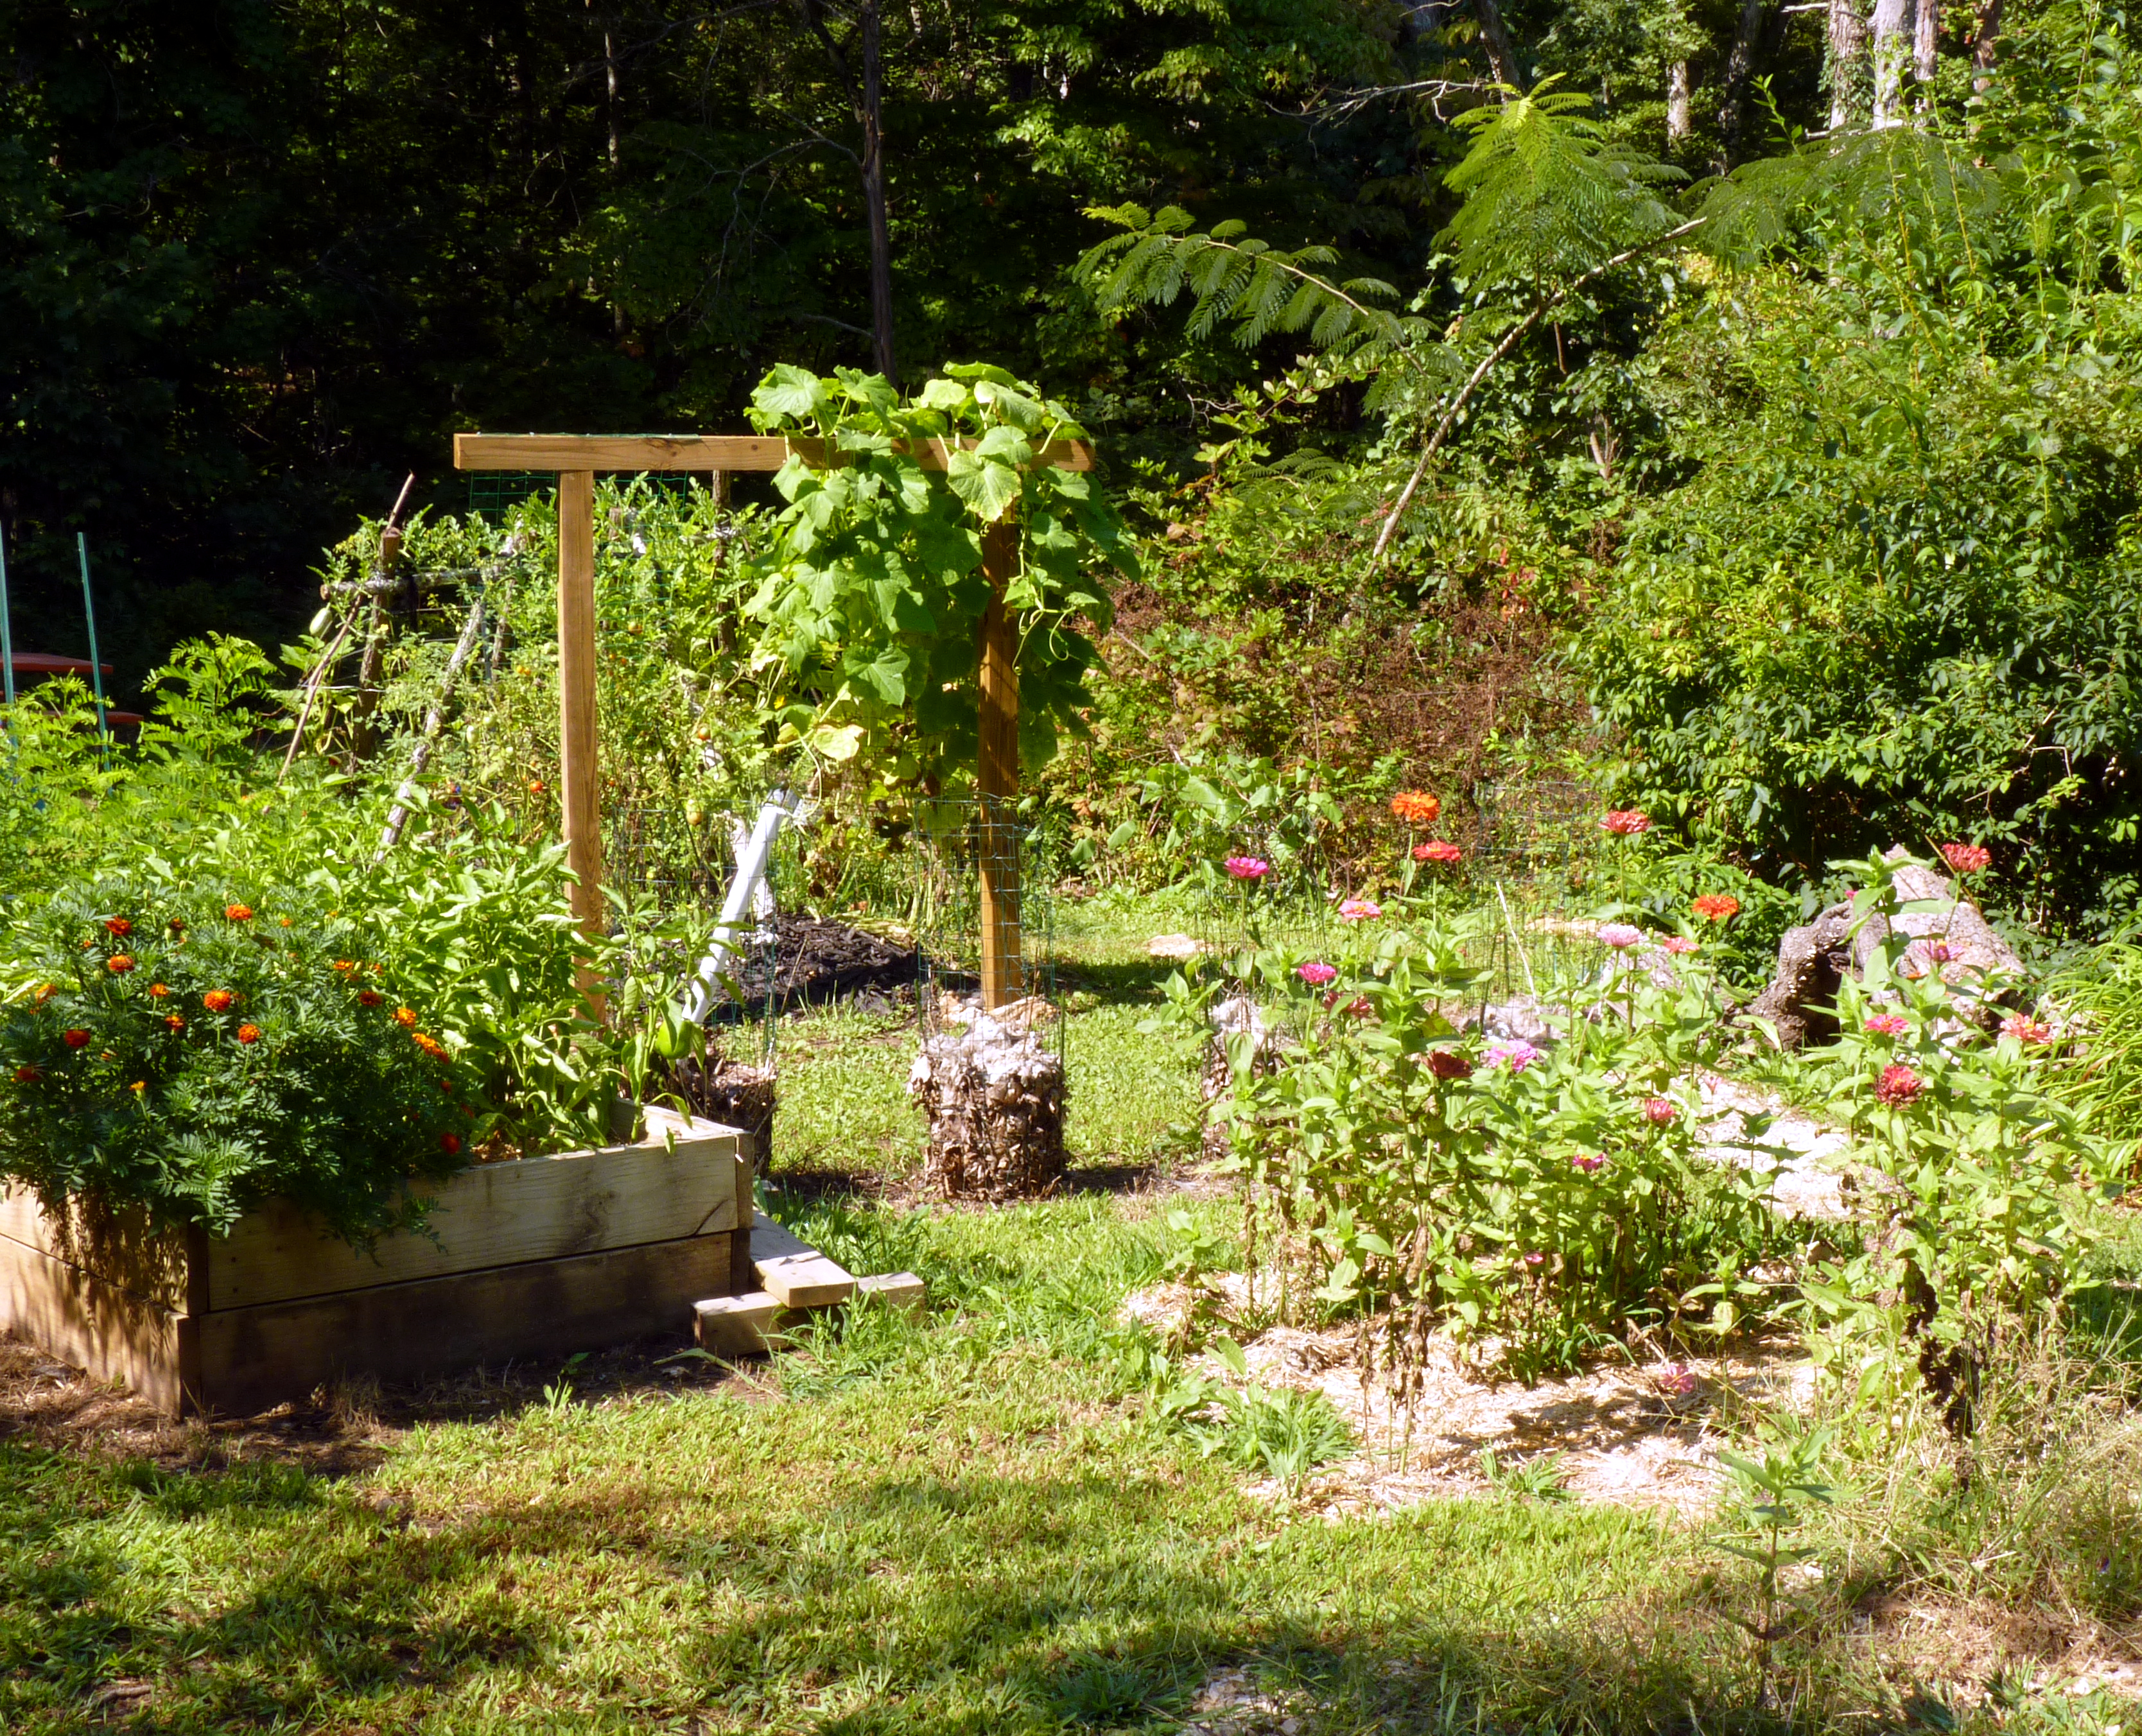
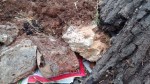
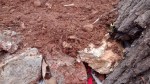
I garden mostly in raised beds, so this article will be relative to that form of gardening. If you are planting directly in the ground, then obviously there is a bit more prep work involved. The soil here, unless you venture into the woods, has very little or no topsoil and is almost all rocks and red clay. It isn’t impossible to grow plants in with a lot of amendment and effort, but it’s certainly not the easiest in the world to work with. For trees, bushes and large landscape plants, I cope with the clay. When it comes to planting flowers and vegetables though, I prefer my raised beds.
I’ve seen raised bed kits in the seed catalogs and in garden centers at the hardware store. You don’t need a fancy kit to build a raised bed and they don’t have to be very high to be beneficial. My first raised bed, the one I use for most of our vegetable garden, was built from rocks I dug up in the yard or found in the surrounding woods.
I learned by watching my dad, who built a raised area in Mom’s yard for her above ground pool to sit on. He started with a layer of large rocks that he buried slightly in the ground, and then added dirt to the top of the first row of rocks. He then added another layer of rock on top of the first and backfilled that with still more soil. It’s sort of like building steps, but with rocks.
In our area of the country, you don’t even need mortar to hold your beds together; the clay will usually serve that purpose. I will say this- if you aren’t using very large rocks and/or you will have small children or animals around the beds, then you may want to use some sort of mortar or landscaping adhesive to hold everything steady. My 4 year old kicks rocks out of the flower bed all the time, so far I just pick them up and put them back in place.
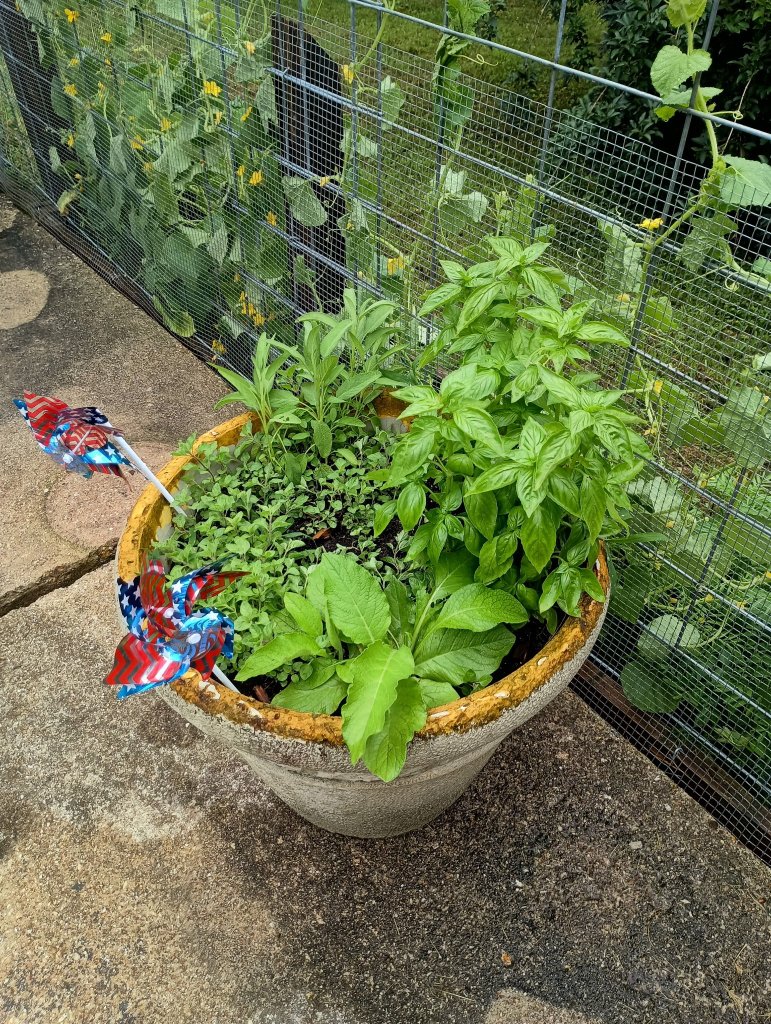
Her dad built a raised bed of her own this year; I had asked for a raised planter next to our composter for extra vegetable space, he added a small rectangle next to mine for her to plant. Both boxes were built from lumber scraps, held together with L-brackets in the corners for strength. We put a few veggies in hers; some garlic bulbs and snow peas, but mostly Mexican sunflower and marigolds. I wanted things that were almost foolproof to grow; she’s been out to check her bed every day since we planted it and was thrilled to find tiny seedlings sprouting after last night’s rain.
Planting things in raised beds is a lot like container gardening, except your containers don’t have a bottom. I’ve seen all sort of materials used; lumber, landscape timbers, railroad ties, concrete blocks, rocks picked up from the yard, old tires, lined cardboard boxes, stacked clay pots and so on. Mostly, choosing a material to build a raised bed is a case of aesthetics. Pick what suits you, your style and your yard. One note of advice however; I’ve seen many pins on Pinterest of people growing vegetable and herb gardens in beds of railroad ties, treated lumber (guilty- although the lumber I used it almost 10 years old) and concrete blocks all of which can leach chemicals into the soil and from there into your plants. If you’re planting for food and the chemicals concern you, consider avoiding these for your raised bed frames.
We have so much rock here that gophers and moles haven’t been a serious issue, but I’ve noticed further north where the soil is much looser and the topsoil deep, the underground critters are fairly rampant. If you’ve noticed a lot of activity in your yard from root-munching rodents, you might want to lay down a sheet of wire mesh and build your bed on top of that. You can find it in most lawn and garden centers on a roll near the poultry netting and garden fencing. The ¼ inch stuff works brilliantly for this; it’s small enough that most rodents can’t get through, but allows worms, water, air and soil to pass through. I stole this photo from Google, as I would have had to go up to our storage shed where the old rat cage is and take pictures of hardware cloth. We lined the outside of a bookshelf with it as a cage for our fancy rats. They chewed through the bookcase; but couldn’t get through the hardware cloth. It will protect your carrots and potatoes in exactly the same way from gophers and rabbits.
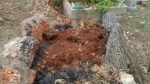
Depending on the soil you intend to use, you may want to put down a drainage layer on top of your hardware cloth. I used native soil and leaves to fill about half my container, then store-bought garden soil and my own compost on top. You can layer fall leaves and small bits of sticks on the bottom for drainage, then a heavier layer of soil and finally compost and lighter materials on top if you like. Top it off with a layer of mulch once your plants are established. You want the beds to be able to drain, but not so fast that you have to water constantly. Raised beds will dry out a bit faster than a garden planted directly in the earth, so keep this in mind when planning your watering schedule.
A little tip I picked up from Paul James, the garden guy that used to do Gardening By The Yard on HGTV, is that a little fall prep for raised beds and even for in-ground gardens can save you a lot of hoeing, tilling and digging in the spring. I saved all my cardboard boxes for a couple of months, starting at the end of the summer. In the fall after I’d cleared the dead plants from my garden, I put down a thick layer of cardboard over the entire area. So I didn’t have to look at cardboard boxes all winter, I covered the boxes with a layer of black weed barrier cloth, anchored by landscape pins. The cardboard breaks down over the winter months. It allows water to penetrate, but helps to keep the earth beneath it soft. If you’ve never had the pleasure of dealing with clay soil, you have NO IDEA how helpful that is. If you have, then you know that clay turns to concrete when it’s dry and tar-like muck when it’s wet. The cardboard breaks down into the soil, loosening up the particles of clay and making it much more workable. It also speeds up the breakdown of leaves or mulch left on top of the garden, adding more organic material to enrich the soil. Where I didn’t have cardboard, I piled up the leaves and left them in place until spring. Rake them off when you’re ready to plant and you have soft, black, workable soil. No tilling, hoeing or hauling of garden soil necessary. Dried leaves help acidify the soil as well, good to know if you’re growing acid-loving plants like blueberries. An added benefit of the cardboard/landscaping fabric layer was that it kept weeds and crabgrass from sprouting and helped to heat up the raised beds for planting a bit faster than the actual ground temperature.
 This same trick works for an in-ground garden, although it may require more than a single season to see the dramatic results I got in already soil-amended raised beds. The reason there is good top soil in the woods around my house and not in my yard is thanks to the bulldozers that cleared the land before they built our house here. They scraped off every ounce of topsoil and left all the exposed clay and rocks on the surface instead. Conversely, the woods that weren’t disturbed have years and years of leaf buildup on the ground, rotting slowly and turning to rich, dark soil underneath. Trees in the woods create their own mulch and compost. Tilling up the earth exposes the soil to air and water that can rob it of nutrients. It dries out the topsoil layer that protects what’s underneath. If you want your garden to grow big, healthy plants then you have to put back some of what is lost when you clear and till the soil.
MULCH ALL THE THINGS.
I can’t even stress how important this step is and it’s one that is often ignored. Mulch is a young plant’s best friend. It holds topsoil and soil amendments in place, it prevents erosion, and it protects the upper layers of soil from sun scorch. Mulch helps plants and soil retain moisture, so mulched plants need less watering. Organic mulches break down over time and enrich the soil composition, adding nutrients and helping to break up soils with tightly packed particles like clay. In sandy soils, they add bulk and keep the water from just running through. I’ve read studies that claim some types of mulch even encourage your plants to grow faster because of the increase in certain light spectrums when reflected back up to your plant. Tomato plants especially, are said to benefit from red-colored mulch.
I tend to favor pine-mulch; not because it does anything special, I just love the smell.
So… for a post that was originally supposed to be about garden plants, I rather ran off on a tangent. Then again, you can’t have healthy plants without healthy soil. No matter where I start, it always seems to come back around to dirt. 🙂
-B