Several years ago I had a website called ExistentialBelle.com on which I wrote several articles related to my yard work, plant growth and landscaping ventures. The website didn’t survive due to my then cluttering it up with too many personal things.
This is an article I had written for the gardening portion of the site- something I didn’t get bored with or outgrow. (I’ve edited a bit here and there as I saw fit)
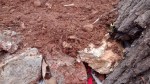
Northern Missouri, where my family is originally from, is blessed with dark, rich, workable topsoil that is perfect for growing. Even in some of the cities near the Missouri or Mississippi rivers, such as St. Louis or Jefferson City, I’ve seen great topsoil; black silt that I’m guessing must have been deposited there over many years from the rivers long ago. However, here in my part of Missouri, which is the Lake of the Ozarks, our soil (if you want to call it that) is primarily comprised of two things: layers of rocks, followed by layers or clay on top of more layers of rock.
Our home, as well as many others in the area, is built on filled land. Most parts of the Lake Area are wooded hills, prior to development. In order to make the land relatively flat for building, they do what’s called grading it. This essentially means that they use bulldozers and other heavy equipment to scrape the tops off the surrounding hills and shove them into the valleys to create a flat area large enough to hold a house. It’s a common practice here, especially on the hillsides surrounding the lake itself. I’ve seen many a lake home’s back yard landscaped with small rock or gravel to cover the red, muddy mess the excavator’s left behind. Our yard was equally as scarred and ugly when we first moved in. The former tenants of our home didn’t see fit to do anything with the yard for the two or three years they occupied the house. The result of their neglect, combined with the complete removal of any topsoil by the excavators left a rocky, exposed clay mess that was suitable for growing only small patches of crabgrass, dandelions, thistles and a few other hardy weeds.
After many frustrating attempts to dig and plant in this stuff without success, I went into research mode to find ways to deal with my clay. Clay soil is manic-depressive. It has two states: Mud or Brick. You have to learn to manage these opposing conditions to reach a happy medium and say goodbye to clean tennis shoes and socks. I still have more than a couple pairs of shoes and socks in my closet, permanently stained a brick-orange color from working the clay in our yard. On the bright side, clay’s binding properties are wonderful for holding trace minerals and nutrients. The particle size is small and smooth; it holds water well and is very fertile for supporting plant life. If you ball up clay soil in your hand, it will stay in a tight, sticky ball that holds shape. The deeper layers are slow dry out and can support plants with deep, well established root systems very well. Trees like Oak and Dogwood especially favor clay soil. It also supports plant’s root systems to protect them from wind rock (a condition where the upper portion of the plant moves during windy conditions and causes the roots to lose their hold or become damaged).
The problem with clay is those same binding properties that make it nutrient and water rich can pack wet clay together into heavy, unworkable clumps. Lifting a shovel full of wet clay feels as if there is a toddler swinging from the end of it. Aeration (the ability to get oxygen to the roots of a plant) is often very poor. The top layer of clay soil can dry into a hard, cracked crust, while a few inches underneath remains bog-like. Steel tools can barely penetrate the stuff; small feeder roots drown in the lower layers, dry out and burn up in the upper portion of the soil.
The first couple years in our new house, I was desperate to treat the problem of the red mud being tracked all over our carpets and ruining pair after pair of shoes. Clay soil’s rotten drainage can result in a moat or lake in your yard for days after the smallest rain. Worse yet, unprotected slopes and hills can erode quickly into mudslides, washing away what little topsoil has accumulated there, compounding your drainage problem. When it does finally dry out, plants that grow in the upper layers or soil- such as all grass and many flowers- dry out and die quickly without at least daily watering. In its dry, concrete like state, clay is nearly impossible to get a shovel or a tiller into and with no plants to hold topsoil in place, dried clay is also prone to wind erosion and rock slides.
Since we were on a very tight budget those first couple years, I figured I only had a couple of options for fixing our red, two acre mess. Buy plastic alligators or pink flamingoes and pretend I lived in the Everglades during the spring season; replace them with plastic cactus and tortoises in the summer. OR– something a bit more practical, find a way to both soak up excess water and keep the top layer of earth from baking in the sun. It wasn’t the most elegant solution, but a thick layer or hay/straw solved both problems for a while. In the fall, I used a mulching mower to run over the leaves and left them on the yard. Straw, mulch and leaves thrown on top of the clay were only a temporary fix though. They were akin to the lake houses I’d seen swathed in landscaping fabric topped with river rock or gravel. They covered up the problem, rather than addressing it.
Re-routing water with ditches or drains, building raised planting beds and walkways helped some in the high traffic areas of our yard. It kept the mud out of the house and prevented walking on the already damaged areas so that some had a chance to recover naturally. The rest of my yard still looked like a giant stable. What a really wanted was some grass. I went through several bags of seed, which sprouted, lived briefly and died in the span of a couple months. Sometimes it hung on doggedly until the end of the season, only to give up the struggle over the winter months. The raised planting beds were doing fine, since I’d planted on top of the offending clay instead of in it. To these I had added a small amount of our clay to bag after bag of potting soil; not the most economical solution. The problem seemed overwhelming and too much for one person to manage.
I decided to divide our yard up into smaller portions and focus on one section at a time. My three greatest allies in my battle against the clay were several pairs of washable suede garden gloves to prevent blisters while digging, a mulching lawnmower and a large compost bin.
I’d read that additives were the best long term method of improving clay soil. They help to loosen it up, dry out the deeper layers and bring moisture to the crusty upper layers. Inorganic materials like lime, gypsum, vermiculite, perlite and oyster shell can be purchased at garden stores and used to loosen clay, making it workable. But some of these can alter the mineral content or PH balance of the soil and are also rather pricey. I’ve personally had the best results with organic matter. Compost, shredded leaves, newspaper, hair, eggshells, wood mulches, grass clippings, pine needles, hay, straw, vegetable waste and even coffee and tea grounds. Many of these add valuable nitrogen to the topsoil layer as well, while helping to loosen the clay and encourage plant growth.
Composting was a HUGE help in reforming my clay soil, accompanied with the mulching lawnmower, I joked to my husband that I was using our yard to fix our yard. You can pick up the grass clippings in a bag and add them to your compost pile, or just let them drop on the yard and decompose right there. Be prepared to spend a lot of time working the top layers of your clay, adding your organic material and then re-working as necessary. Ultimately, you’re trying to get the soil closer to a loam state, where it still balls when wet, but readily comes apart when squeezed. Ideal soil has a medium particle size, is full of organic matter, holds water well, but also has good drainage. The first few times you work your compost into the clay, you may not be able to penetrate the soil very deep without major effort. Give the compost some time to do its work (and by this, I mean you may need to give it a several seasons to see serious results).
Organic additives will attract earthworms too; they will further aerate the clay and break up the stickiness of it. After a few treatments like this, you should be able to work the soil at deeper levels. Remember that this is an ongoing process, not a do it once and forget it kind of fix.
Plants can also improve clay soil. Choosing native plants (ones that grow in your area naturally) will help to ensure their success. Clay soil is slower to warm in spring and plants will take longer to become established, but they often do well with minimal intervention once they are settled in. Established plants can help by breaking clay up with their roots and by drawing moisture up to the dry upper layers. Watering your plants in clay can require a bit of finesse as well. Since its small particle size packs tight and doesn’t readily absorb water, you should water for short intervals over a period of time. Let the sprinkler run for a few minutes, turn it off and allow the surface water to soak in, then turn it on again and let it run for a few more. This gives the upper layers some time to soften up and absorb the water down to your plant’s roots rather than just pooling on the surface or running off.
For those of you in Missouri, the Missouri Department of Conservation is an excellent resource for trees and shrubs that will grow well in all types of Missouri soil. I’ve ordered several shipments of small seedlings from them over the years and most of them have matured nicely. I will caution you that if you are very particular about what you’re getting, then you should order EARLY. They often run out of the more popular stock very quickly, especially the fruit/nut/flowering trees and shrubs. I don’t know if other States have similar programs, but this one has been a wonderful resource for our yard.
The Arbor Day Foundation’s website is another economical place to buy small trees and shrubs. ( I think they now even have some flower packages.) Both sites send their plants as bare root stock, meaning they are only 6 inches to a foot tall and come wrapped in paper or plastic rather than planted in pots of soil. They give instructions for “heeling in” the plants when they arrive. I’ve found that with my clay, my plants are often more successful if I place them in pots of garden soil or potting soil for the spring/summer season, allow them to establish strong root systems and then plant them in the yard that fall. Stock I’ve received in the fall, I over-winter inside in small pots and usually let them spend the Spring/Summer season in their pots outside before giving them a permanent Fall home.
I will do a separate article soon with specific plants that can prosper in clay soils and also elaborate on composting methods.
B
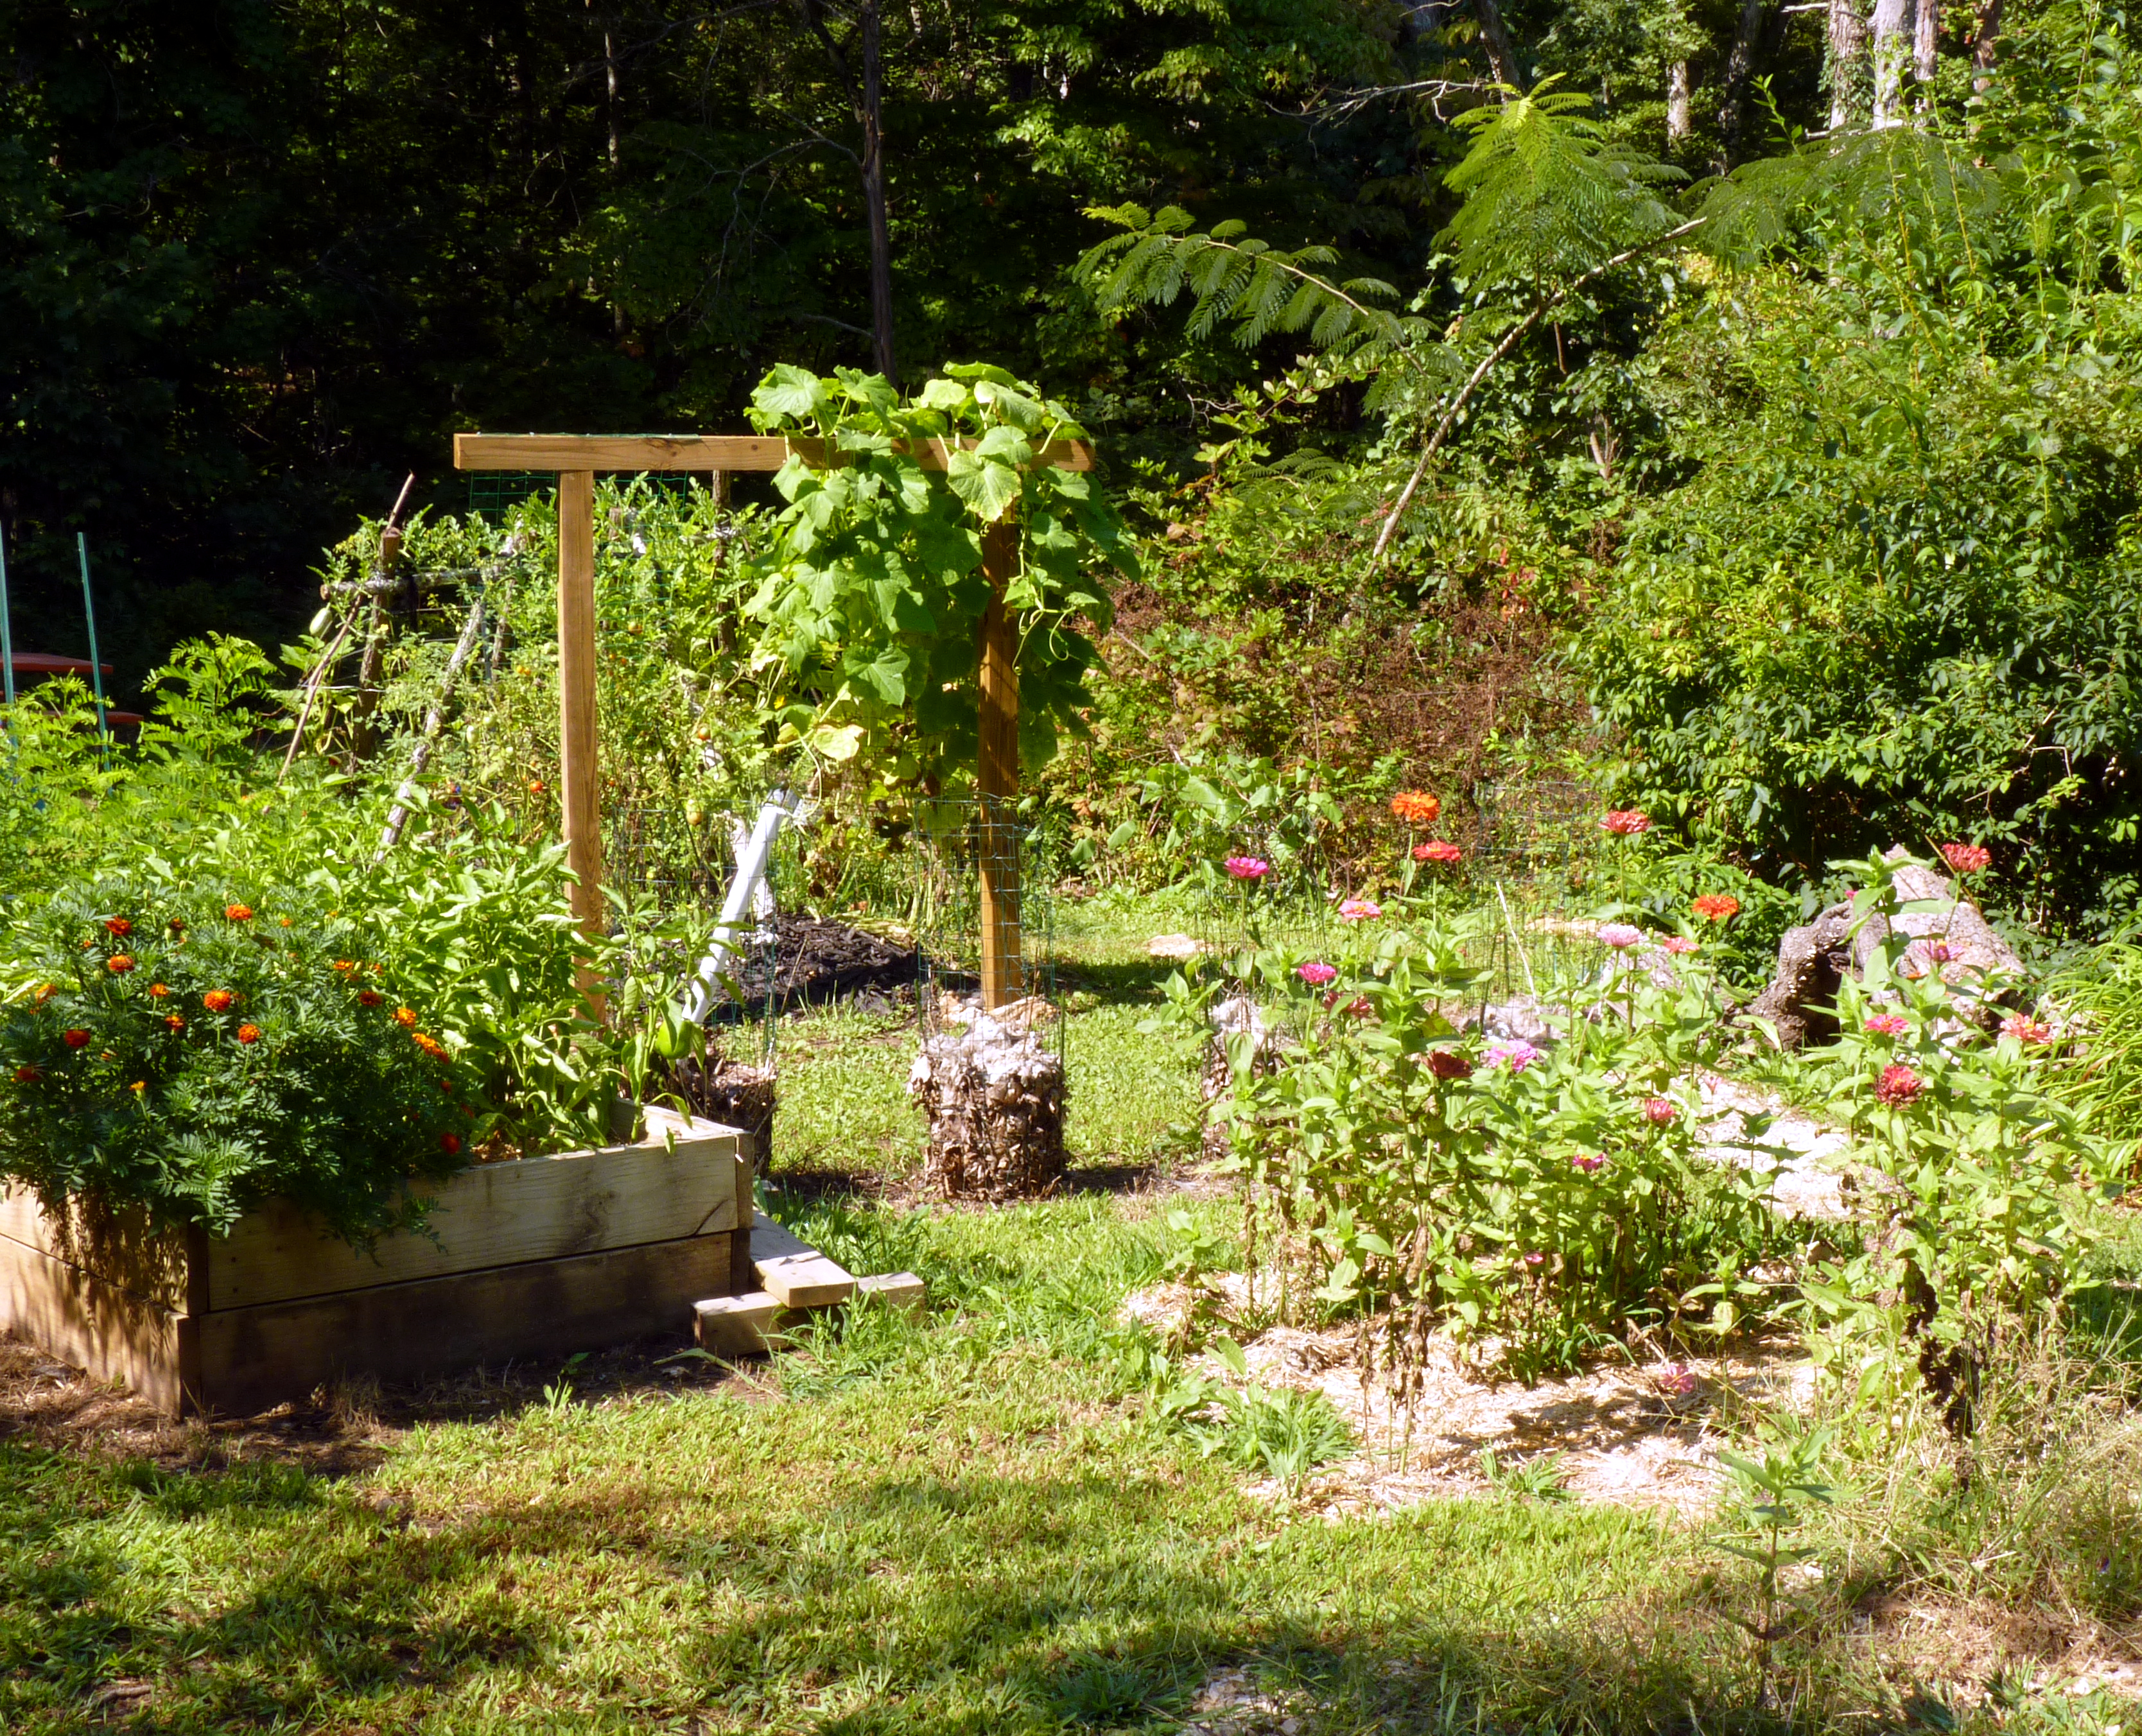 My daughter threw a few zinnia seeds at the end of our driveway this spring, which resulted in a slightly haphazard patch of gorgeousness by midsummer. I mulched her spontaneous flower garden in August to help protect them from drying out too quickly in the horrible dirt they’d been planted in. When we cut away the last remaining stragglers last week, (zinnias bloom forever!) I promised her a much nicer medium for next year’s seeds.
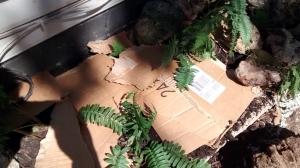
 To the newspaper, I add a course layer of twigs, leftover mulch, chopped leaves yard clippings, whatever I have around for drainage. I avoid grass cuttings though, because we have a lot of crabgrass that sprouts everywhere and that stuff is vicious if it gets a foothold.
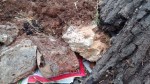


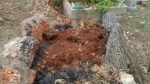
 That’s it. Follow that recipe for your raised planting beds and they will be low maintenance and grow very healthy plants for several seasons. As the organic materials break down, you may need to re-layer every 4-5 years or so. On this bed, I’ll eventually have to replace that big stump with rock as it rots… but it looks kind of cool for now. 🙂

