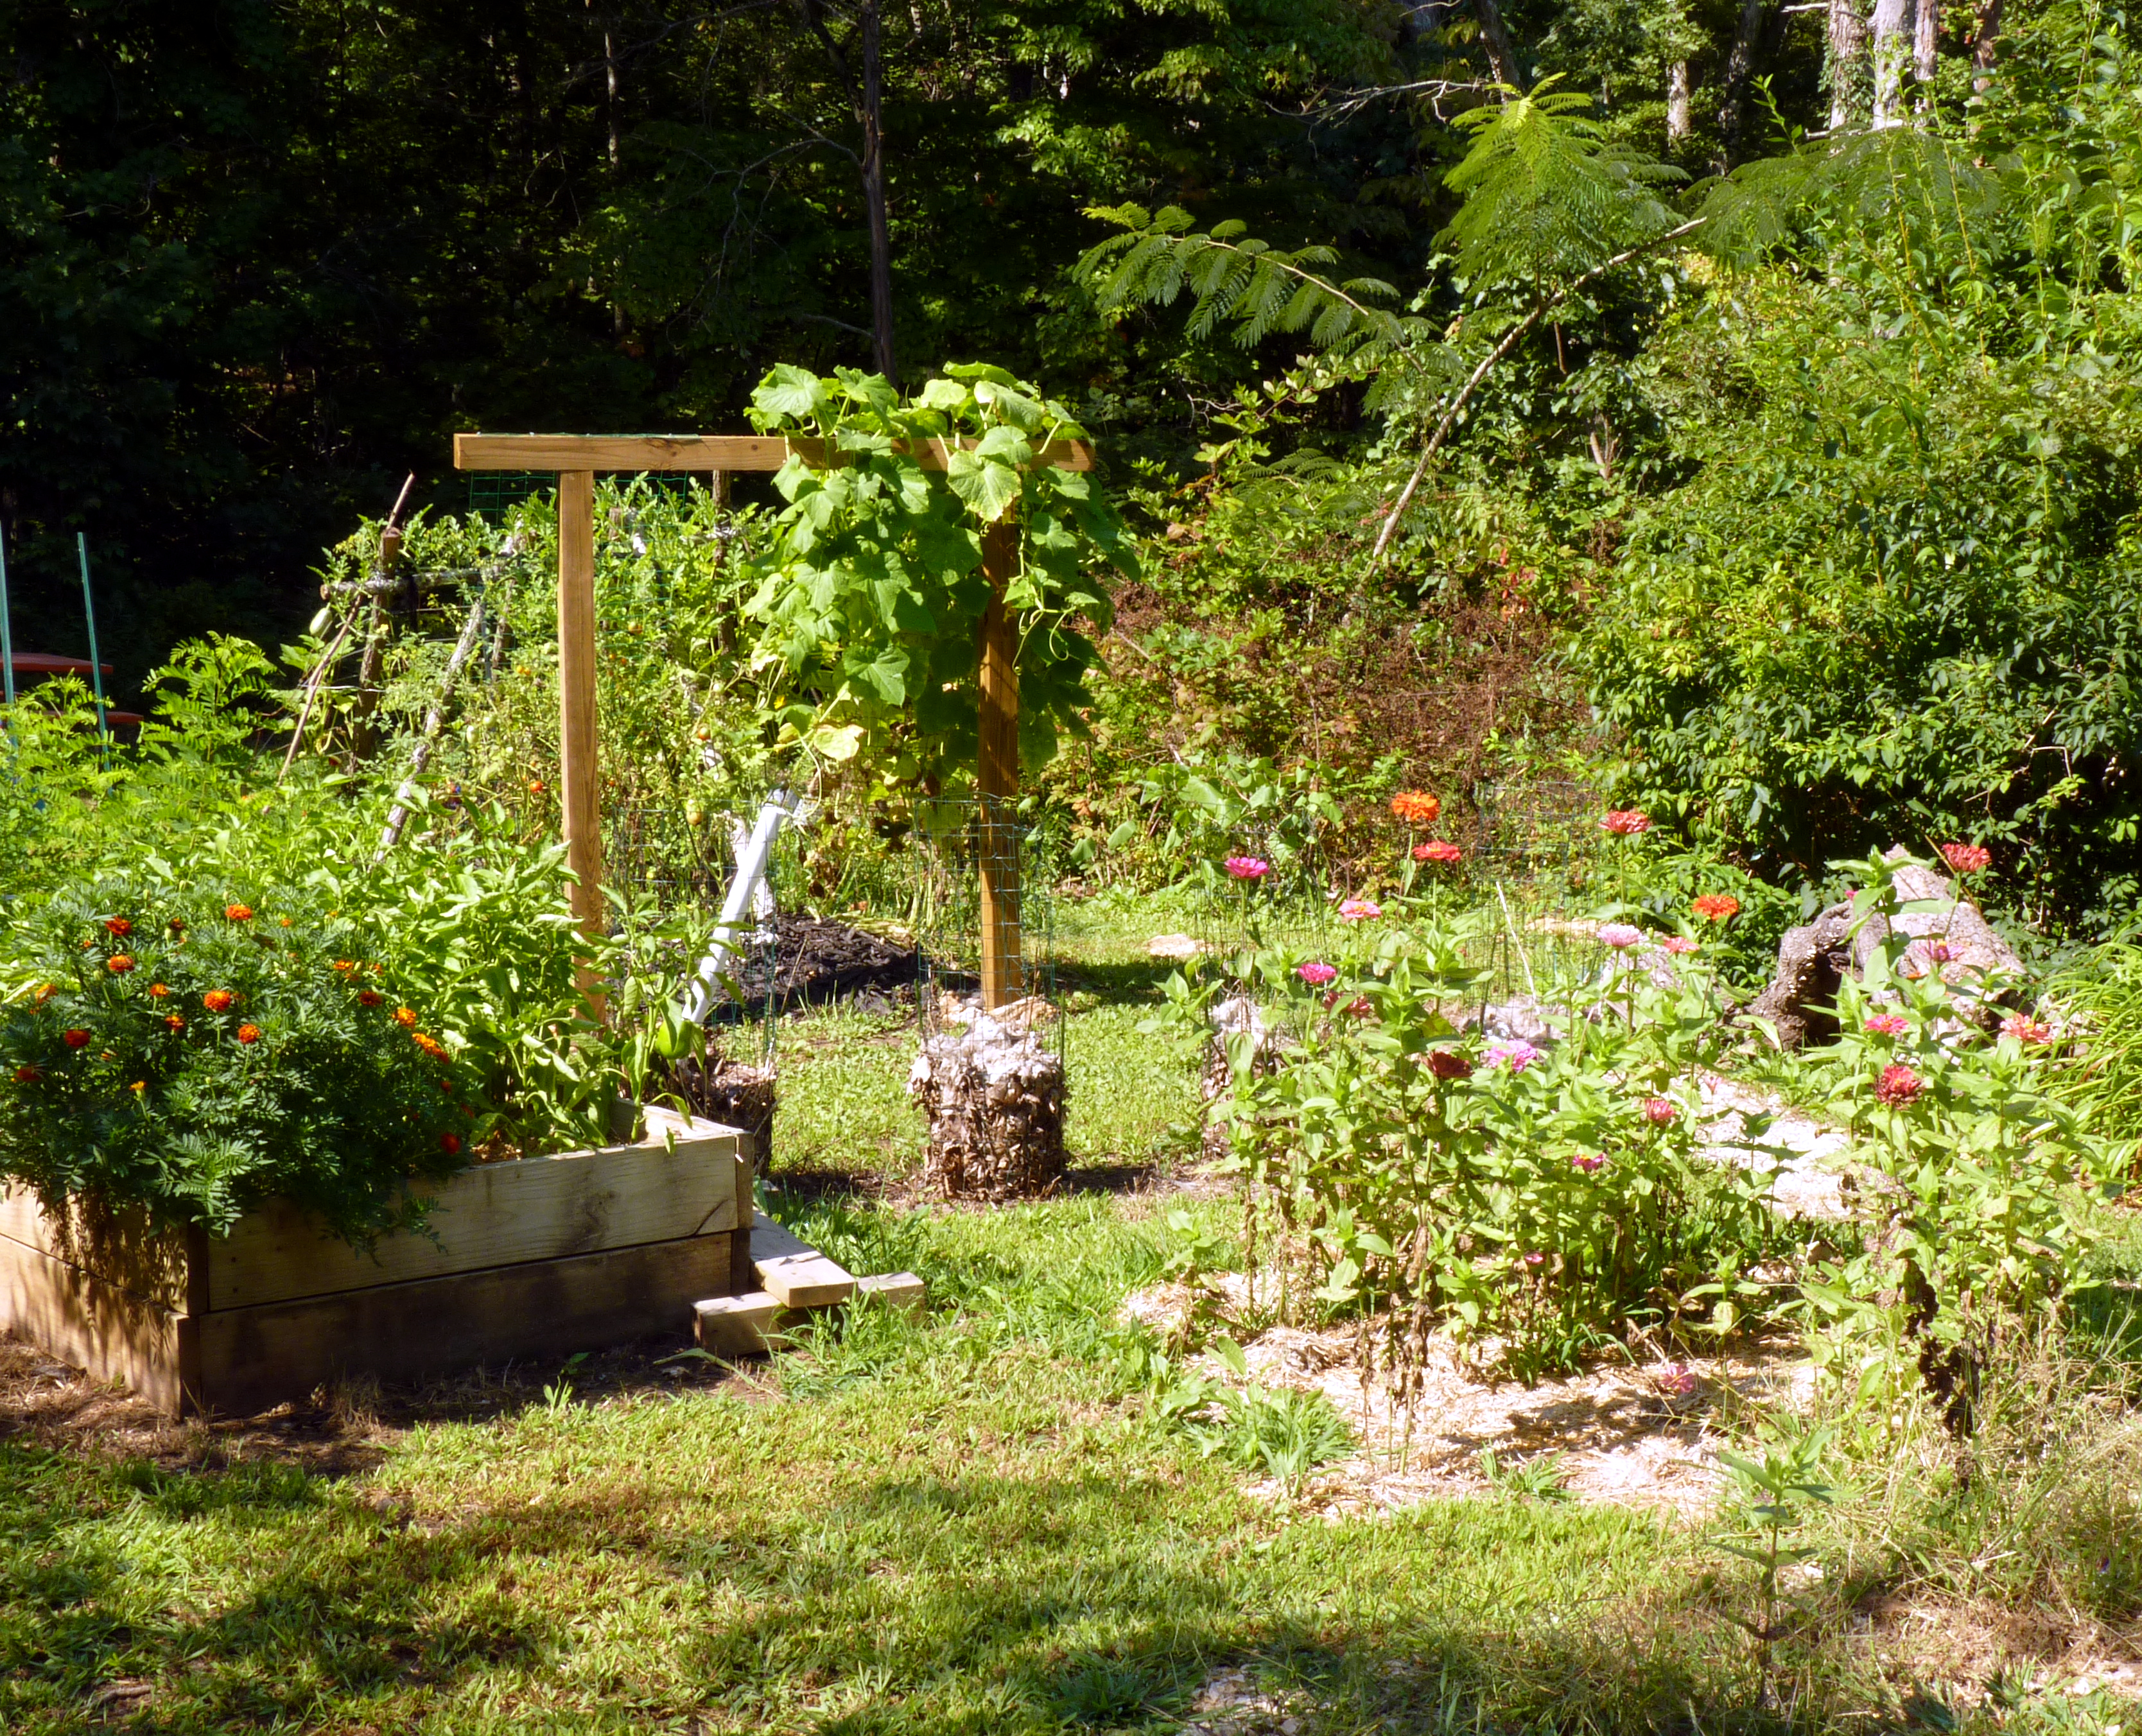
I’m going to keep this short and sweet with lots of pictures for those of you that just want a quick reference and then are off with your shovel and to shop for plants. If you’d like a more detailed explanation of layered gardening, see my post on hugelkultur mounds.
Whatever name you give it, ‘compost gardening,’ ‘layered gardening’, ‘hugelkultur’, ‘lasagna gardening’, ‘no till gardening’ they all employ basically the same methods and mean the same thing. You’re building a raised bed garden out of several layers of material that compost in place over time. The idea has gained a lot of popularity in recent years because of how incredibly low maintenance these gardens can be. A properly built hugelkultur mound is said to even be able to sustain a garden in the middle of the desert! If you’ve had a traditional garden in the past, you know that the digging, planting, hoeing and watering can become an exhausting chore and eat half of your summer. Lasagna gardening gets it’s clever name from the multiple layers of material you build into your raised bed. You can build a lasagna garden in just about anything. A raised bed of wood framed walls, a plastic tub, on the ground surrounded by bricks, cement blocks or just rocks you’ve picked up in the woods. The container really just depends on how formal, or informal you want it to look and how high you want it off the ground… or of course if you live in an apartment or a neighborhood where you can only garden in a container.
In hugelkultur, you dig below the ground itself and your layers begin there. The base is a bit different, the results pretty close to the same. I believe if you CAN dig into the ground at all, hugelkultur is the better method, since it requires less watering and improves itself over time with little or no interference from you after the initial build. 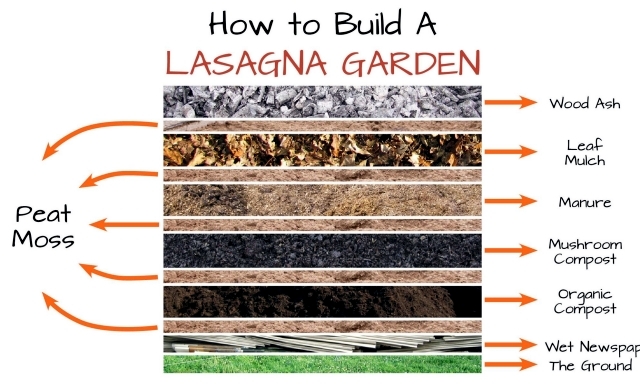
I got this picture from the City of Cuyahoga Falls website.
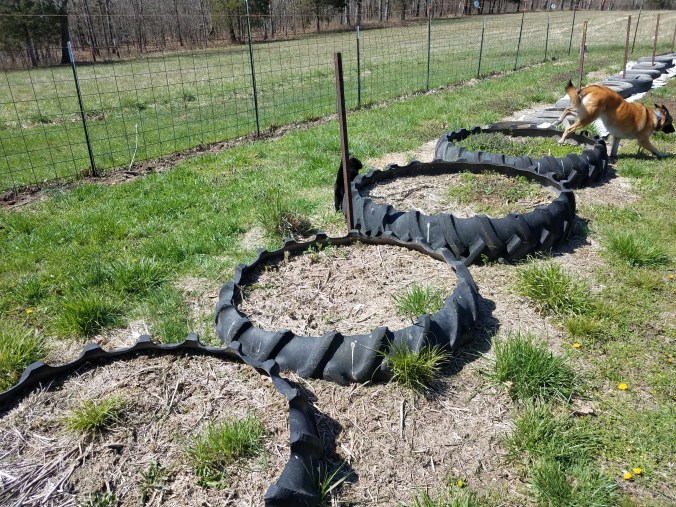
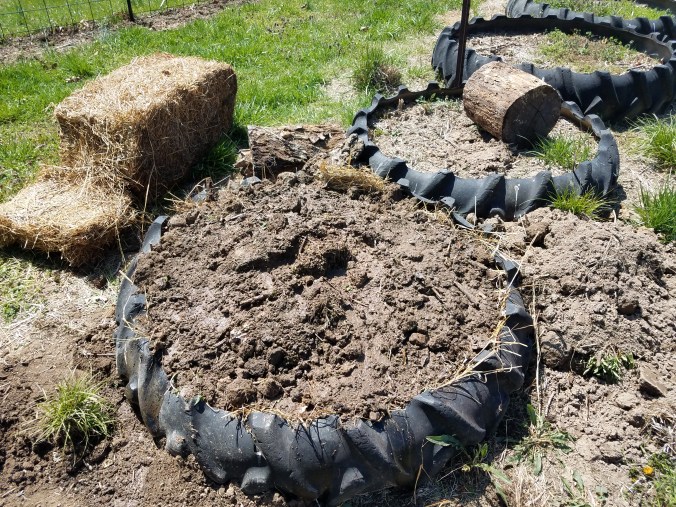
So here we go, layered garden in a tractor tire. T’s grandpa had most of his garden in tires, using them simply as mini-raised beds. I’m just going to improve on what he’s done, not re-invent the entire garden.
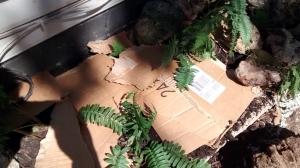
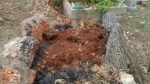
First I dug all the dirt out of the center of a tire, just scooping it right next to it, because I’ll be putting it back at the end. I dug down almost 3 feet, until I hit the clay layer. I couldn’t do this in our previous yard, because the soil WAS clay and rock. Lots and lots of rock. I just dug it down as far as was possible to hold the logs in place. Deeper is better if you can manage it.

Next, I raided a wood pile that had been sitting for at least 2 years. There were good sized logs, already half rotten. Perfect! Don’t use logs that don’t rot or that give off chemicals to slow rot- avoid woods like locust, cedar and cherry. These logs were birch and oak and already breaking down, so they are fine.

Hugelkultur mounds are usually just free-form on the ground. I’m building this one inside the tire, kind of like combining hugelkultur and lasagna gardening. Add your logs to the hole, to the level of the soil (or in this case, almost the top of the tire). I threw in the bark that fell off and all the chips and pieces as well.

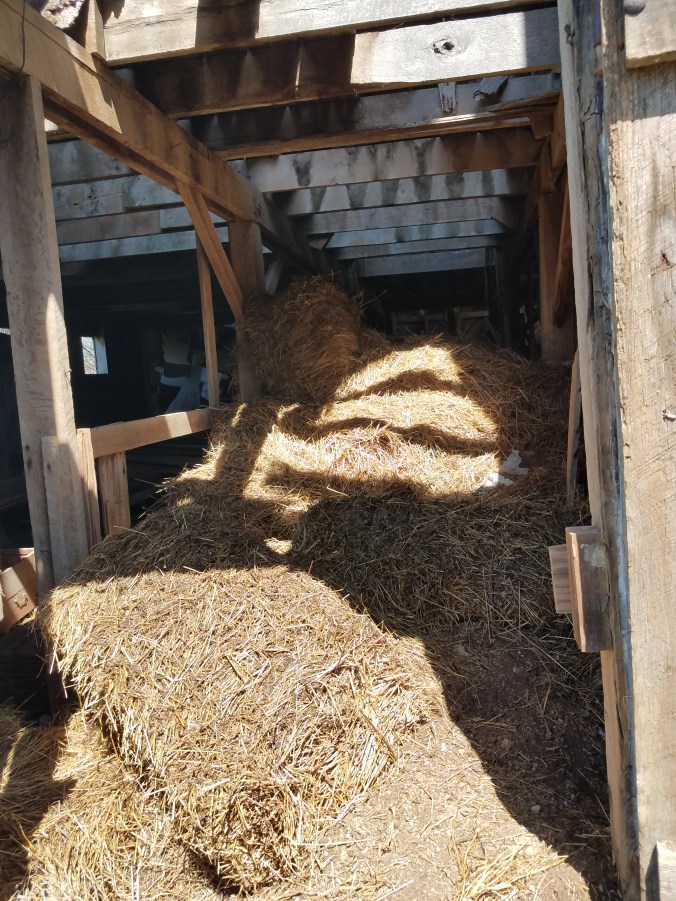
An old bale of straw or hay works for the next layer. You can also use chopped up leaves or grass clippings, shredded cardboard, newspaper, etc. I have a barn full of old rotting hay that I need to get rid of, so I used that.
Dump the leaves, hay, grass clippings on top of your log layer.

This is the layer you’ll vary according to what you’re planting. In this case, I’m planting strawberries, which are acid-loving plants, so I want the bed to stay fairly acidic. My neighbor was kind enough to send me home a load of aged cow manure; if you don’t have access to a friendly farmer, you can buy manure at most garden centers by the bag. Mushroom compost will also work well, you just want something that’s high in nitrogen so that as the logs break down, they don’t leach all the nitrogen from your soil.

For a little extra heat, I added some blood meal to this layer. It’s a big nitrogen boost too. Blood meal AND manure is really going to lower the PH of your soil and make it highly acidic, so if you’re planting things that need a bit higher PH- such as watermelon, cantaloupe, peas or lettuce you might add lime or wood ashes here instead of blood meal if you’ve already used manure. If you don’t want to guess, get a soil tester and test.

On top of the manure, I’m putting back all that dirt I first dug out of the hole, mounding it up in the center and packing the sides down a bit so it will stay in place until the plant roots can take hold and keep it there.
Add your plants… and a pinwheel if you are so inclined. 🙂

I just used more straw to mulch in the plants and then watered everything really well.
First mound finished! The best part is, there will be minimal weeds, once the logs underneath are saturated, I will seldom have to water because they will maintain the soil moisture beautifully. There’s no tilling, even in the next season, you just dig and plant again. If your plants are perennials, like strawberries, you just add more mulch on top. No fertilizer is needed, the logs underneath break down and provide nutrients.

For a cleaner, or more formal look, you could edge the planting bed with blocks, bricks or stone and use a commercial mulch from the nursery.
My cost on this mound was about $3.00 for blood meal and another $4 or so for plants. Everything else was sourced from our property or our neighbor.
Now I only have a 1/4 acre of garden left to do something with…
-B