I’m working on a few paper maché projects for a 4-H Halloween party we’re having. I’ve also started a Tik Tok account to share my art with a new audience.
Holy hell ya’ll. I never imagined speaking for 2 minutes coherently would be such a struggle. I write MUCH better than I speak. On video I sound like a complete freaking Goober. I’m going to do them anyway, but fair warning, do NOT expect miracles. LOL
I spent several hours driving in circles in Downtown St Louis last week (by choice, I wasn’t lost) while Tom and the kiddo went to see the Cardinals. They won 2 tickets, mom played chauffer, which meant I had lots of time to cruise around, people watch and think.
I’ve decided I need to step up my art game. I need to share more stuff, try more things, look for places to get new ideas. I also need to ride that monster Ferris Wheel at Union Station sometime, but that’s beside the point. Now that they’re relaxing some of the Covid restrictions, we might be able to go up there and see things again.
This week, I’m doing a bit of writing and building paper maché things for our party. I just completed 3 small Jack o’ lanterns that I’ll share with you- they are part of a larger build I’ll post later.
This video, I didn’t talk in, so no sounding like Pennywise doing a bad impression of Stuttering Bill.
Here’s how I made those paper maché pumpkins:
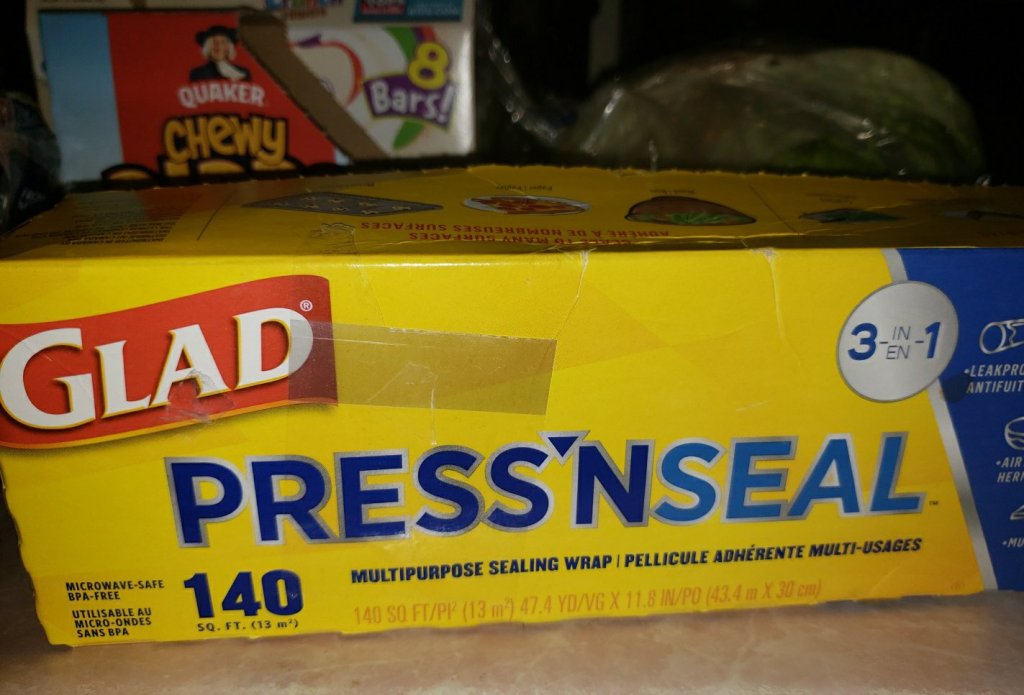
STUFF I USED– Glad Press N Seal Wrap, painter’s tape (masking tape works too), string or yarn, small bowl for holding watery glue, newspaper, magazines, etc to tear into strips, white glue (like Elmer’s school glue). Acrylic paint.
If doing texture, you will also need cheap toilet paper (maybe use some of the 2020 stash you tossed in the back of the cabinet when Charmin came back in stock), Premixed joint compound (not DAP brand), more white glue and flour to make the paper maché clay.
1) Wrap a halfway solid object.
I have a weighted handball that I use for therapy. It’s bigger than a softball, but not as big as a grapefruit. I covered this entirely in wax paper and tape, then wrapped that with Glad Press and Seal saran wrap. After I had several layers, I cut a split and removed the ball. I forgot to take pictures of this part. Sorry!
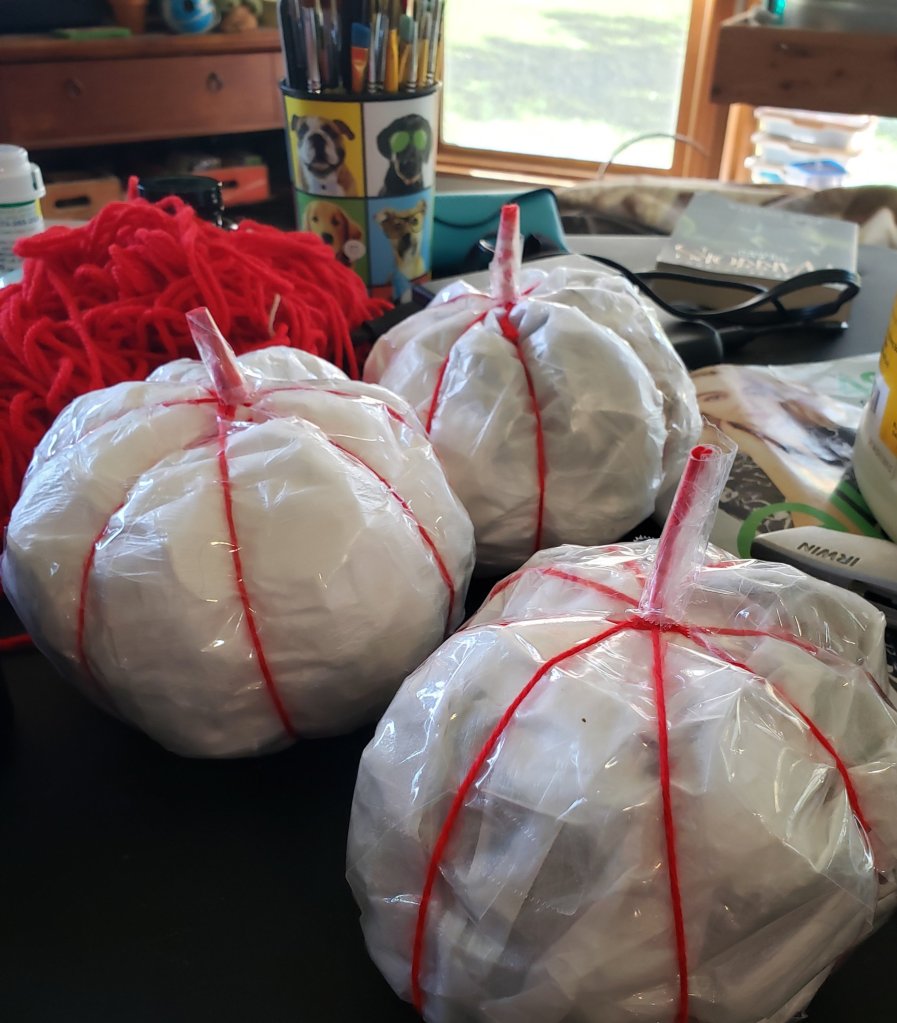
2) Stuff it.
I restuffed the Saran Wrap ball with plastic grocery bags and taped up my cut. I then used yarn to tie around the ball. I left the tops of the yarn until the end. Tie your yarn like you would secure a package. Slip under the ball, bring the ends over the top, tighten down. The more you tighten the yarn, the deeper the lines on your pumpkin will be.
Turn the ball and tie again at least twice more, then twist the top leftover string and trim off to about a 1/2 inch. This will be your stem. I wrapped tape around the string ends to secure them to each other and thicken the stem up a bit.
3) Paper maché
For the paper strips, I use what I have. I get a ridiculous amount of plant and clothing catalogs, so I used a lot of those. Tear or cut your strips (if you have issues with jagged edges) into manageable pieces.
I use plain white Dick Blick school glue (like the white Elmer’s) thinned with water for paste. I don’t like the idea of the old fashioned flour paste, since it can mould. How thick or thin you want it is kind of personal preference, my solution was about 2 parts glue 1 part water.
Drag your strips through the glue, then gently through your fingers. You don’t want it dripping, but coated enough to stick to itself. Use a very light touch or you’ll tear the paper.

I alternate the direction of my strips to prevent gaps and help with strength. I went all the way around vertical, then horizontal, the next layer vertical angled right and so on. I found it easier to do a couple layers, let that dry overnight and add 2-3 more. You want to let it dry completely before moving on to the next step.
4) Let it dry and cut faces.
You want your paper very stiff with no give before cutting. If it gives or you have weak spots, repeat layers and let dry again until it feels strong. It can pull apart or collapse if you skimp on layers or dry time.
I cut the faces of my Jack O Lanterns with an exacto knife, then I cut the bottom out of each pumpkin and removed all the stuffing, wax paper, Saran Wrap, tape and string. The Press N Seal took a little effort to remove, as it wants to stick to EVERYTHING including itself.
At this point, you should be left with pumpkins that are nothing but paper and look like this:
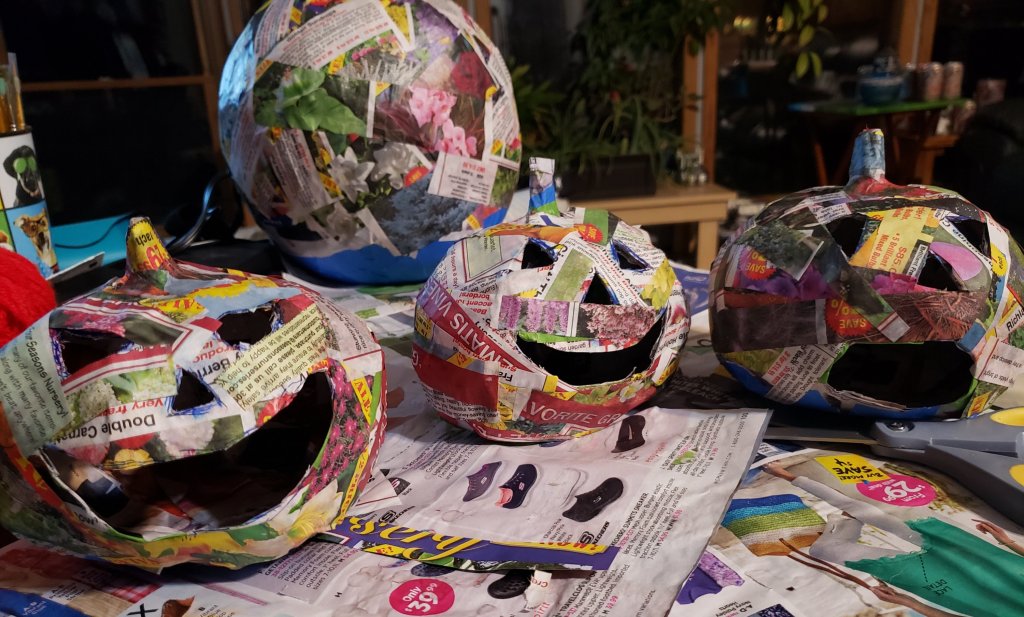
That larger pumpkin in the back is the head for the other part of the project I’m working on.
5) Texture. (This step is optional)
At this point, you can start painting if you like. I added another layer of detail here to give my finished pumpkins a bumpy appearance and beef up the vertical lines on them. If you’re going to do the texture step, I would paint the entire pumpkin with a primer coat first and let it dry, so that the texture doesn’t make your paper shell wet and heavy, causing it to lose shape. Also, the texture will require a minimum of 24 hours dry time, depending on how thick you put it on, but in my opinion was absolutely worth it- it added a lot of character they would have been missing otherwise.
So for texture, here’s your recipe:
They call this paper maché clay, but I found the texture of it be less like clay and more like slightly congealed oatmeal… which is is as gross at it sounds to stick your hands in. I wore medical gloves. Google paper maché clay if you’d like to experiment with other recipes. I modified this lady’s recipe, she makes some really cool masks with it.
PAPER MACHE CLAY-
-1 1/4 cups wet toilet paper (They recommended putting it through a food processor. I just used a kitchen wisk to break it up into tiny mush in water.)
-1 cup premixed drywall joint compound (Don’t use DAP brand, it has something in it that will prevent the clay from setting properly)
-3/4 cup Elmer’s Glue
Her recipe calls for 1/2 to 1 cup of white flour and 2 Tablespoons of mineral oil. I skipped both of these, which may be why my consistency wasn’t as smooth and was more like oatmeal that clay. For these pumpkins though, my version worked great and I don’t have to worry about the flour/mildew/mold issue. I’m allergic to mold, so the flour formulas are a big deal breaker for me.
I will also confess that I didn’t actually measure my ingredients, I just dumped the stuff in a bowl- pretty much the way I cook too (this drives my husband nuts. he likes precise, linear steps to follow)
I didn’t get a great picture of this on the little pumpkins, but I took some of the larger one, so you can see the detail.


Like I said, play with your recipe. If you want these texture details smooth, I think adding more joint compound might do the trick- even make it so you can sand it with a drywall sanding block.
If you’re going to add much detail around the facial feature openings, you might reinforce them first with cardboard and hot glue to keep them from becoming mis-shapen.
I just stuck a bit of the ‘clay’ (oatmeal) where I wanted it, then smoothed it into lines or shapes with my fingers, a scrap of cardboard, Q-Tips, whatever worked. When it’s completely hardened, it will be bonded with the maché strips and will feel stiff and solid. At this point, it’s ready for paint.
6) Make it pretty.
I kept my painting pretty simple, since these are going to be outside, in the dark and you won’t be seeing a lot of detail on them. I used a white acrylic primer coat inside and out, followed by 3 different shades of orange on the outside, then painted the stems a grey with a touch of brown mixed in.
I cut some some small circles for the bottom, painted white on one side, and curved the edges slightly to get them inside the bottoms of the pumpkins, then hot glued them to cover the hole in the bottom and painted the outside of that orange as well. You could leave the bottom open if it’s going to be displayed sitting on a surface. It would certainly make it easier to get the lights in them, as I had to shove mine through the mouth, taking care not to damage their faces.
7) Light it up
I used electronic tea lights inside mine to make them flicker and look like a candle. Any small LED light or even a glow stick would work. Obviously you don’t want to stick a real candle in these with a flame, unless for some reason you want them to burn.


Here are my little guys all finished.
I’ll try and get another post on here of the Grim (and how these look added to that build) so you can see the whole thing once it’s put together. The Grim is hopefully going to be about 8 ft. tall and carrying these small pumpkins in one hand. They will be lit as will the Grim’s head.
Don’t ask me where I’m going to store all this stuff after the party. LOL
If you want to hear me be awkward on video, you can check out my Instagram or TikTok accounts. 🙂
Or if you’re an ‘old person’ (as my daughter calls us) and still use Facebook, I’m there too.
-B

