I don’t know if anyone will find this interesting or not- I find watching other artist’s progress fascinating. I could (and have!) sit and watch YouTube painting videos for hours. Especially if they dispense with the annoying step by step and just do their thing.
This is my design for the 4th and final of our TV tray tables. These are about 2×3 ft, I primer the top with a thick, bonding primer before I start.
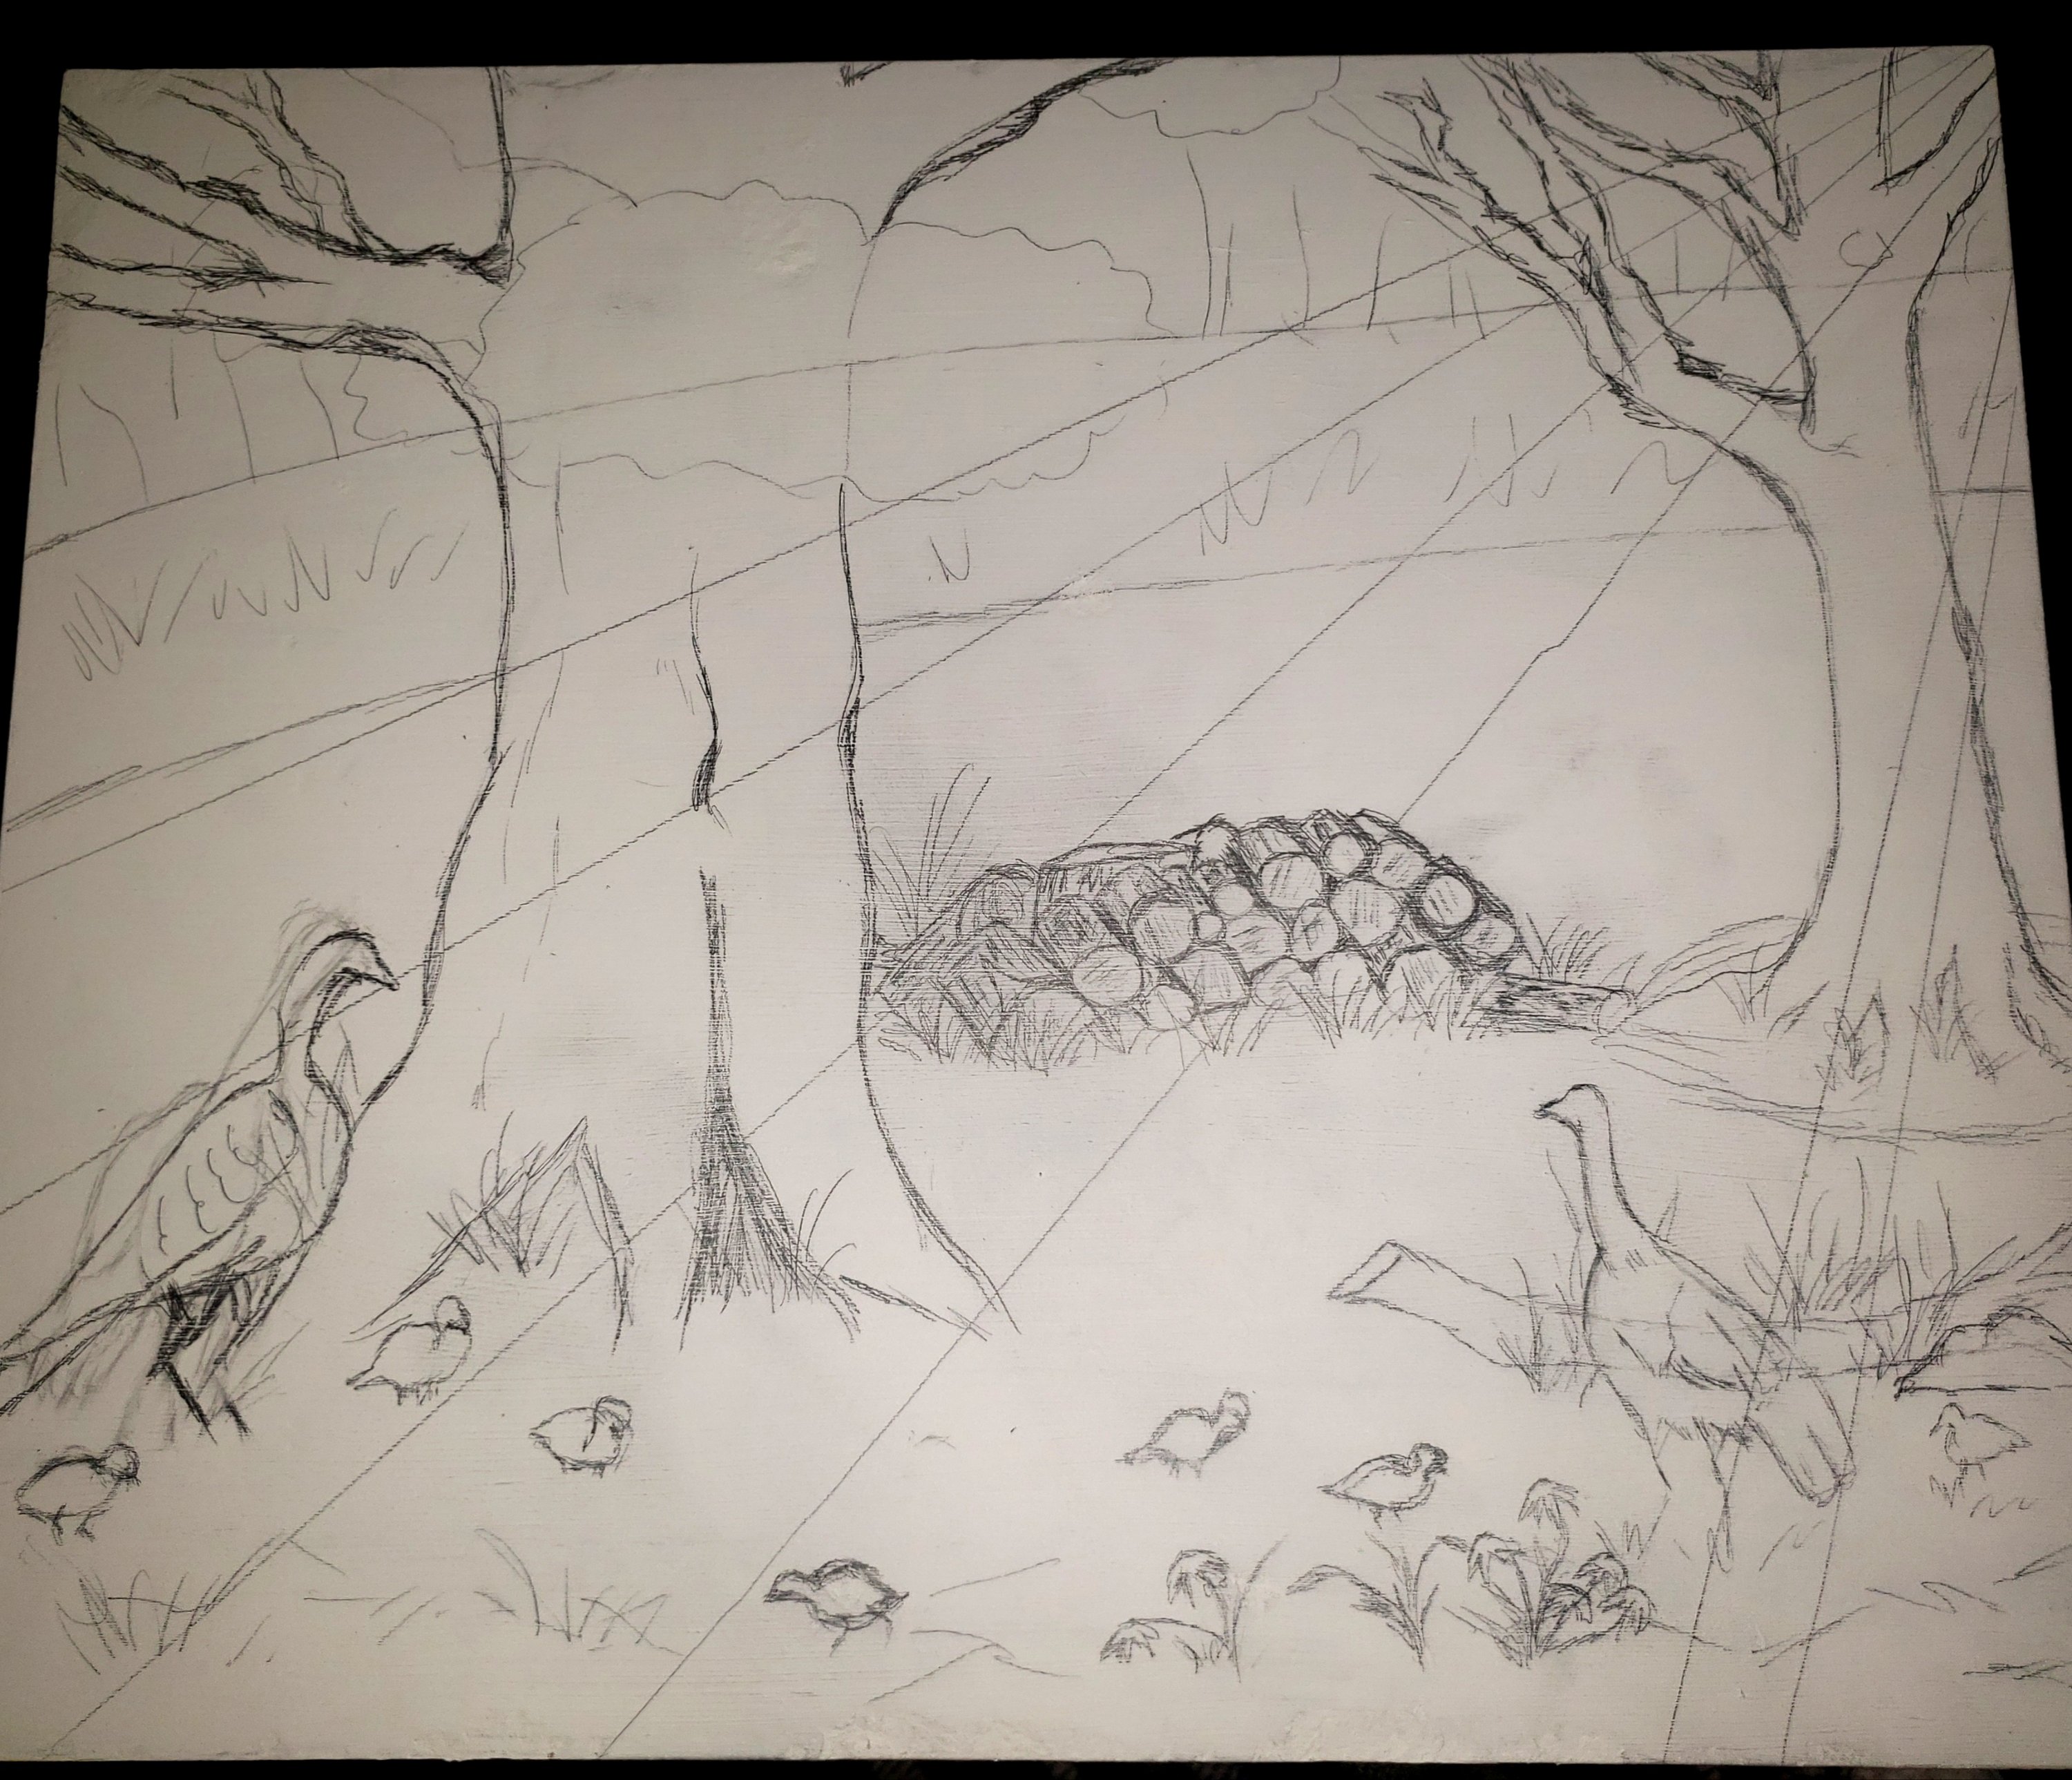
Above is the original sketch for the scene in pencil. I don’t go into a lot of detail because I’m just going to paint over it anyway. I usually do an even rougher version on paper first, because the primer on these tables is not especially easy to erase mistakes on. You can see where I decided I didn’t like the position of the left turkey and attempted to erase it. I decided f%#$ it, it’s easier just to paint over the old lines. I take pictures of all this so if I do paint over something and can’t tell what was there before, all I have to do is look at the photos from the last steps. The lines across the picture map out the direction of my light source. I’m going to attempt putting in streaks of light in this one.
I’ve done similar once before with a saw painting, but wasn’t thrilled with the result. In that one, I used diluted white to go over the scene I’d already painted. It’s not a horrible way to go about it, but I noticed it made everything underneath kind of chalky looking, not just washed out with light. So I’m going to try a new method that is in a book I just bought about color and light. In this way, you actually mix different color combinations for each section, depending on where the light hits.
Right now, with the color blocking it looks like something you would have seen on a t-shirt in the 1970’s. I finished that part last night, I’ll probably start adding some detail in the background area tonight. I need to get these finished so I can get busy painting gourds. Spring is coming and I’d like to get those birdhouses on the Etsy shop!

I’m debating on whether I should go set the shower up for an acrylic pour on the other two so we can start putting them back in use. I plastic the shower, put them in there with an oil heater set to about 80-85F, do my pour and then let them sit in there for at least a day. I like to let them set another week after fully dry to cure before any use. I’ve joined a couple of Facebook groups re: epoxy work and acrylic pour art. Some of the stuff these people make is absolutely stunning. They’re making resin tables from huge slabs of wood, counter tops, huge art installations that look like a real beach, sometimes with sea shells and stuff embedded in them. I do nothing near that technical- just clear coats over paintings. I have a couple pieces of acrylic jewelry with plants in them. I’ve found several folks in Ukraine that make amazing jewelry from the stuff.
Anyway… I will post more as I make progress. I’m working on the utility room floor slowly, trying to finally get the tile down that’s been sitting in our kitchen for over a year now. This doesn’t normally detract from me getting art done, since I mostly do that at night, but it does hinder my posting stuff online. (As if I’m SO great about updating this anyway, right?)
Later gator –==<
B


Pingback: Last Table Finished | Belle of Dirt