In my last post I talked about maker culture and how I’ve embraced the term maker and decided to start posting some of my projects on dirt that aren’t yard or nature related. This is a step by step of a door for a holiday decorating competition at my daughter’s school.
Her teacher sent me these two ideas from Pinterest, I came up with a blend of the two for our door design.
These are the original pins with links to their makers:
Bear looking through window
Ice blocks and snow


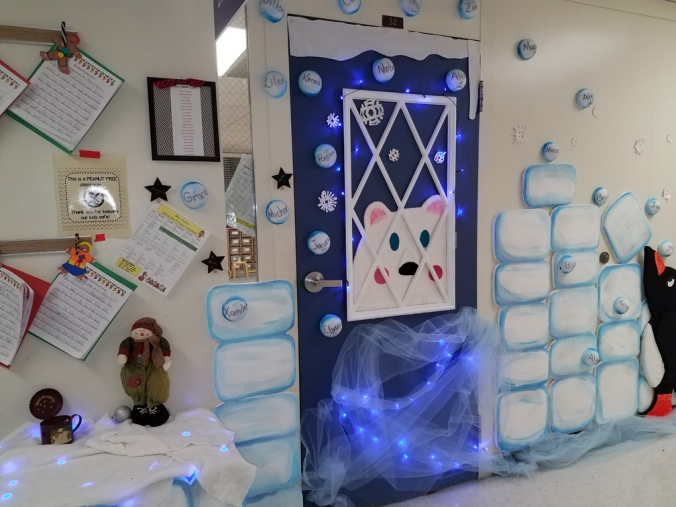
And this is our finished door:
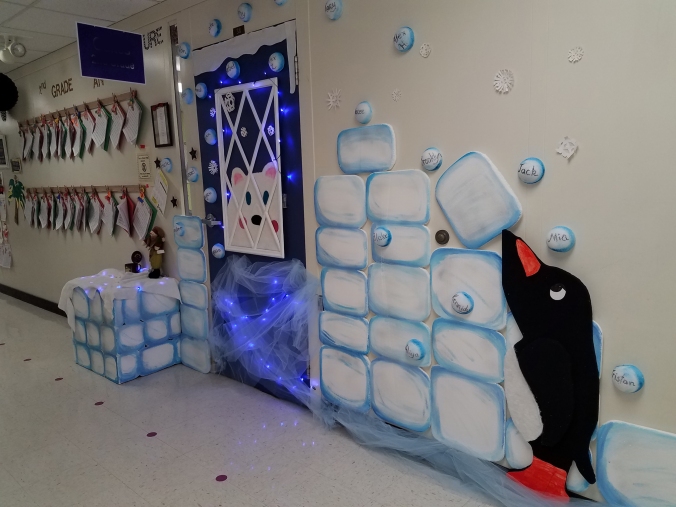
My first step was covering the door in dark blue paper as a backdrop. I then brought in foam insulation sheets that I’d picked up at Lowes ($7 for a pack of 5 I think) and dry-fit them to the wall to figure out where my blocks were going to go. The foam is only about 3/4 of an inch thick, so it scores and breaks fairly easily and is super light to work with.


I took pictures using my phone with the foam cut to size and taped to the wall. My phone has an edit mode where you can draw right on the photo, so I marked the foam with numbers in place, then drew those numbers right onto the photo on my phone. This way, after all the pieces were painted and ready to go back on the wall, I had an easy diagram to remember where to put them. The penguin idea came later when my daughter suggested I have a penguin in the ice blocks. We toyed with the idea of doing a tree also, but ran out of time, which is why there is a tree in the planning photos, but not the finished door.

I took the foam home and drew rough ice-block shapes on it.


I used an X-acto knife to cut around the edges of my drawing, carefully pulling away the leftover pieces as I went. The rough shape shed foam EVERYWHERE, so I decided to sand the edges a bit. I used a 60 grit sandpaper and a very light touch, until the edges were all smooth, rounded and didn’t shed foam anymore.
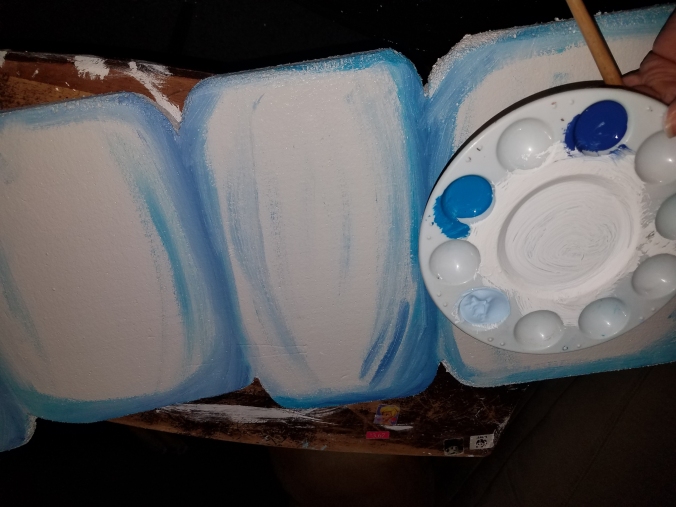
I painted the foam blocks with white and three colors of blue acrylic. A pale sky blue around the entire edge, a turquoise shade for mid-tone highlights and a bit of navy for the shadows. Acrylic dries fairly fast, so I worked only one block at a time so that the white was still wet when I started adding color. I let the acrylic dry and used a very fine spray glitter in silver to add a bit of sparkle to each foam board.
The blocks were by far the most time consuming part of the project.
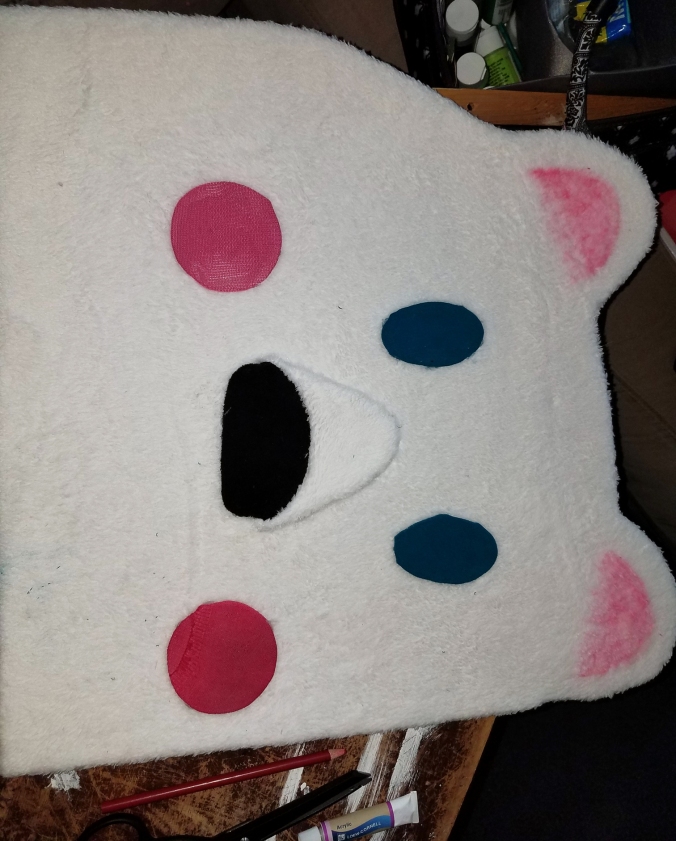
I drew the bear shape onto double-thick poster board, which is still very flat (important for fitting under the frame), but strong enough it didn’t bend when I covered it in cloth. I mod-podged the entire face and let the whole thing sit under a heavy crate overnight. The edges I folded over the back side of the face and hot-glued in place. His eyes, nose and cheeks were all cut from the same poster board, covered in cloth scraps from my scrap drawer and hot glued in place. I drew his face on the back, so that I could get an idea of placement before sticking anything in place with the hot glue! I cheated on the ears and just used a red laundry marker. (I was out of pink scrap)
The penguin was done exactly the same way, except I used a foam panel and cut him out with the X-acto knife and then covered him in cloth. His eye, beak and feet are just acrylic painted poster board, hot glued to the material.
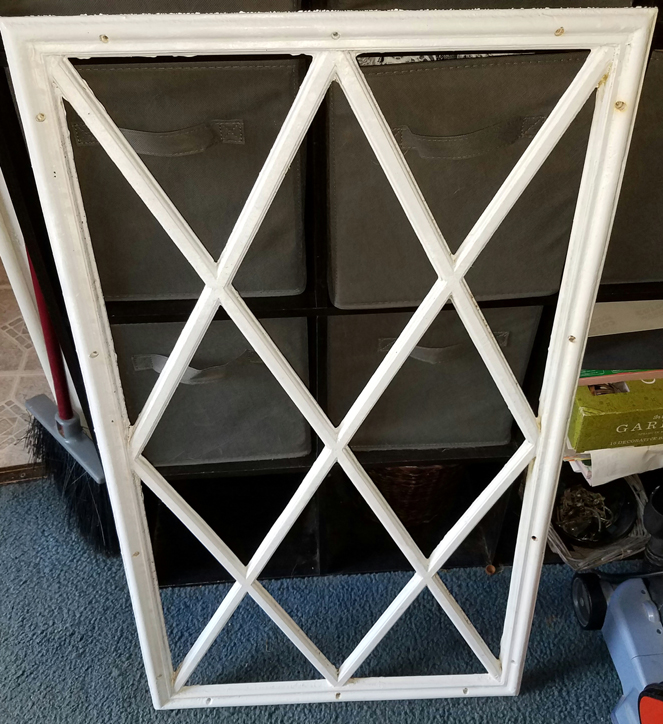
We thought we were going to have to build a window frame, but I remembered that when we replaced out back door last summer, I hadn’t thrown the old door away. I took the window casing off, it was only light plastic, filled the screw holes with some hot glue and gave it a fresh coat of white paint. We stuck it to the door with command strips and gave it a little extra support with hot glue, since the teacher intends to leave this door up through February and not just over the holidays.
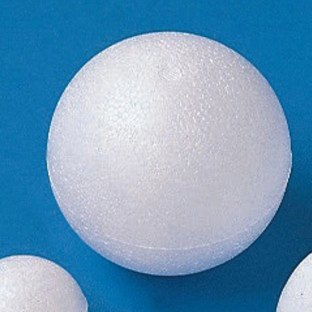
The kid’s name snowballs are just these craft foam balls. I cut them in half with a big knife and painted them with the same four-color style I used on the ice blocks, then wrote each student’s name on it with a sharpie. If I had this to do over, I would have painted them first. Because the foam is so porous, the sharpie bled a bit and the lines weren’t as crisp as I’d have liked.
We put magnets on the back so that the kids can take them home after the display comes down. Those on the foam are hot-glued of course, but have a magnet as well.
The snowflakes are just shapes cut from poster board scraps. I bought mini-led lights at Wal-Mart that are battery powered with 2AA’s, they don’t get hot, are incredibly light and have an on/off switch. One of the packs we hid with the snowman on the table, one is hidden in the light blue tulle we used for snow and the other fit perfectly behind the window frame.
For the table, I pre-measured foam and built a three sided cover for the entire bottom. I then drew blocks on it, painted and carved the edges as I did the big foam blocks. The “snow” on the table is leftover white fur from the polar bear. We added a string of blue lights underneath the snow to give it some glow. The bit of snow over the top of the door is white fur also.
So that’s it! Step by step, top to bottom. Our Pinterest project mash-up… and my first maker post. 🙂
-B