Thanks to Covid I’ve been able to drag my daughter on nature adventures on her days off school, since every other form of entertainment is currently closed/off limits/frowned upon, etc. Our theatre has been closed since March, there were no parades or festivals this year. 😦
We have to be careful to find bathrooms before we go on trails, because most of the state park restrooms and facilities are still shut down, but the parks and trails give us something to do on what would be otherwise another day in front of video games or the tv. – which I am both thoroughly sick of. If I stay home and go outside, I feel like I need to be working in the yard or garden, so I have to get out and get away if I’m to just relax.
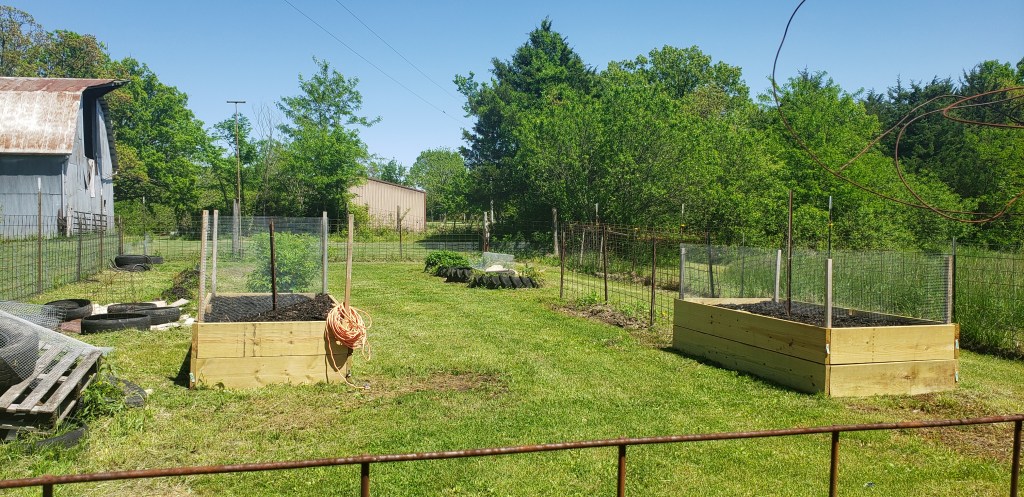
I’m not a fan of crowds and some of the parks are quite a bit busier than I like them right now (Elephant Rocks and Johnson’s Shut Ins have been INSANE this year), but Alley Mill is less exciting, so therefore less busy than the more popular parks. It’s a few miles outside of Eminence, Missouri along the Ozark National Scenic Riverways park. This includes the Current River and Echo Bluff which is another of our favorite places to go, especially in summer. We didn’t go tour the mill because we had our puppy in tow and you can’t take animals into state run buildings- or so the signs said. We did go walk the nature trail that circles behind the mill and along the spring for about 1/4 mile before looping back to the parking lot.


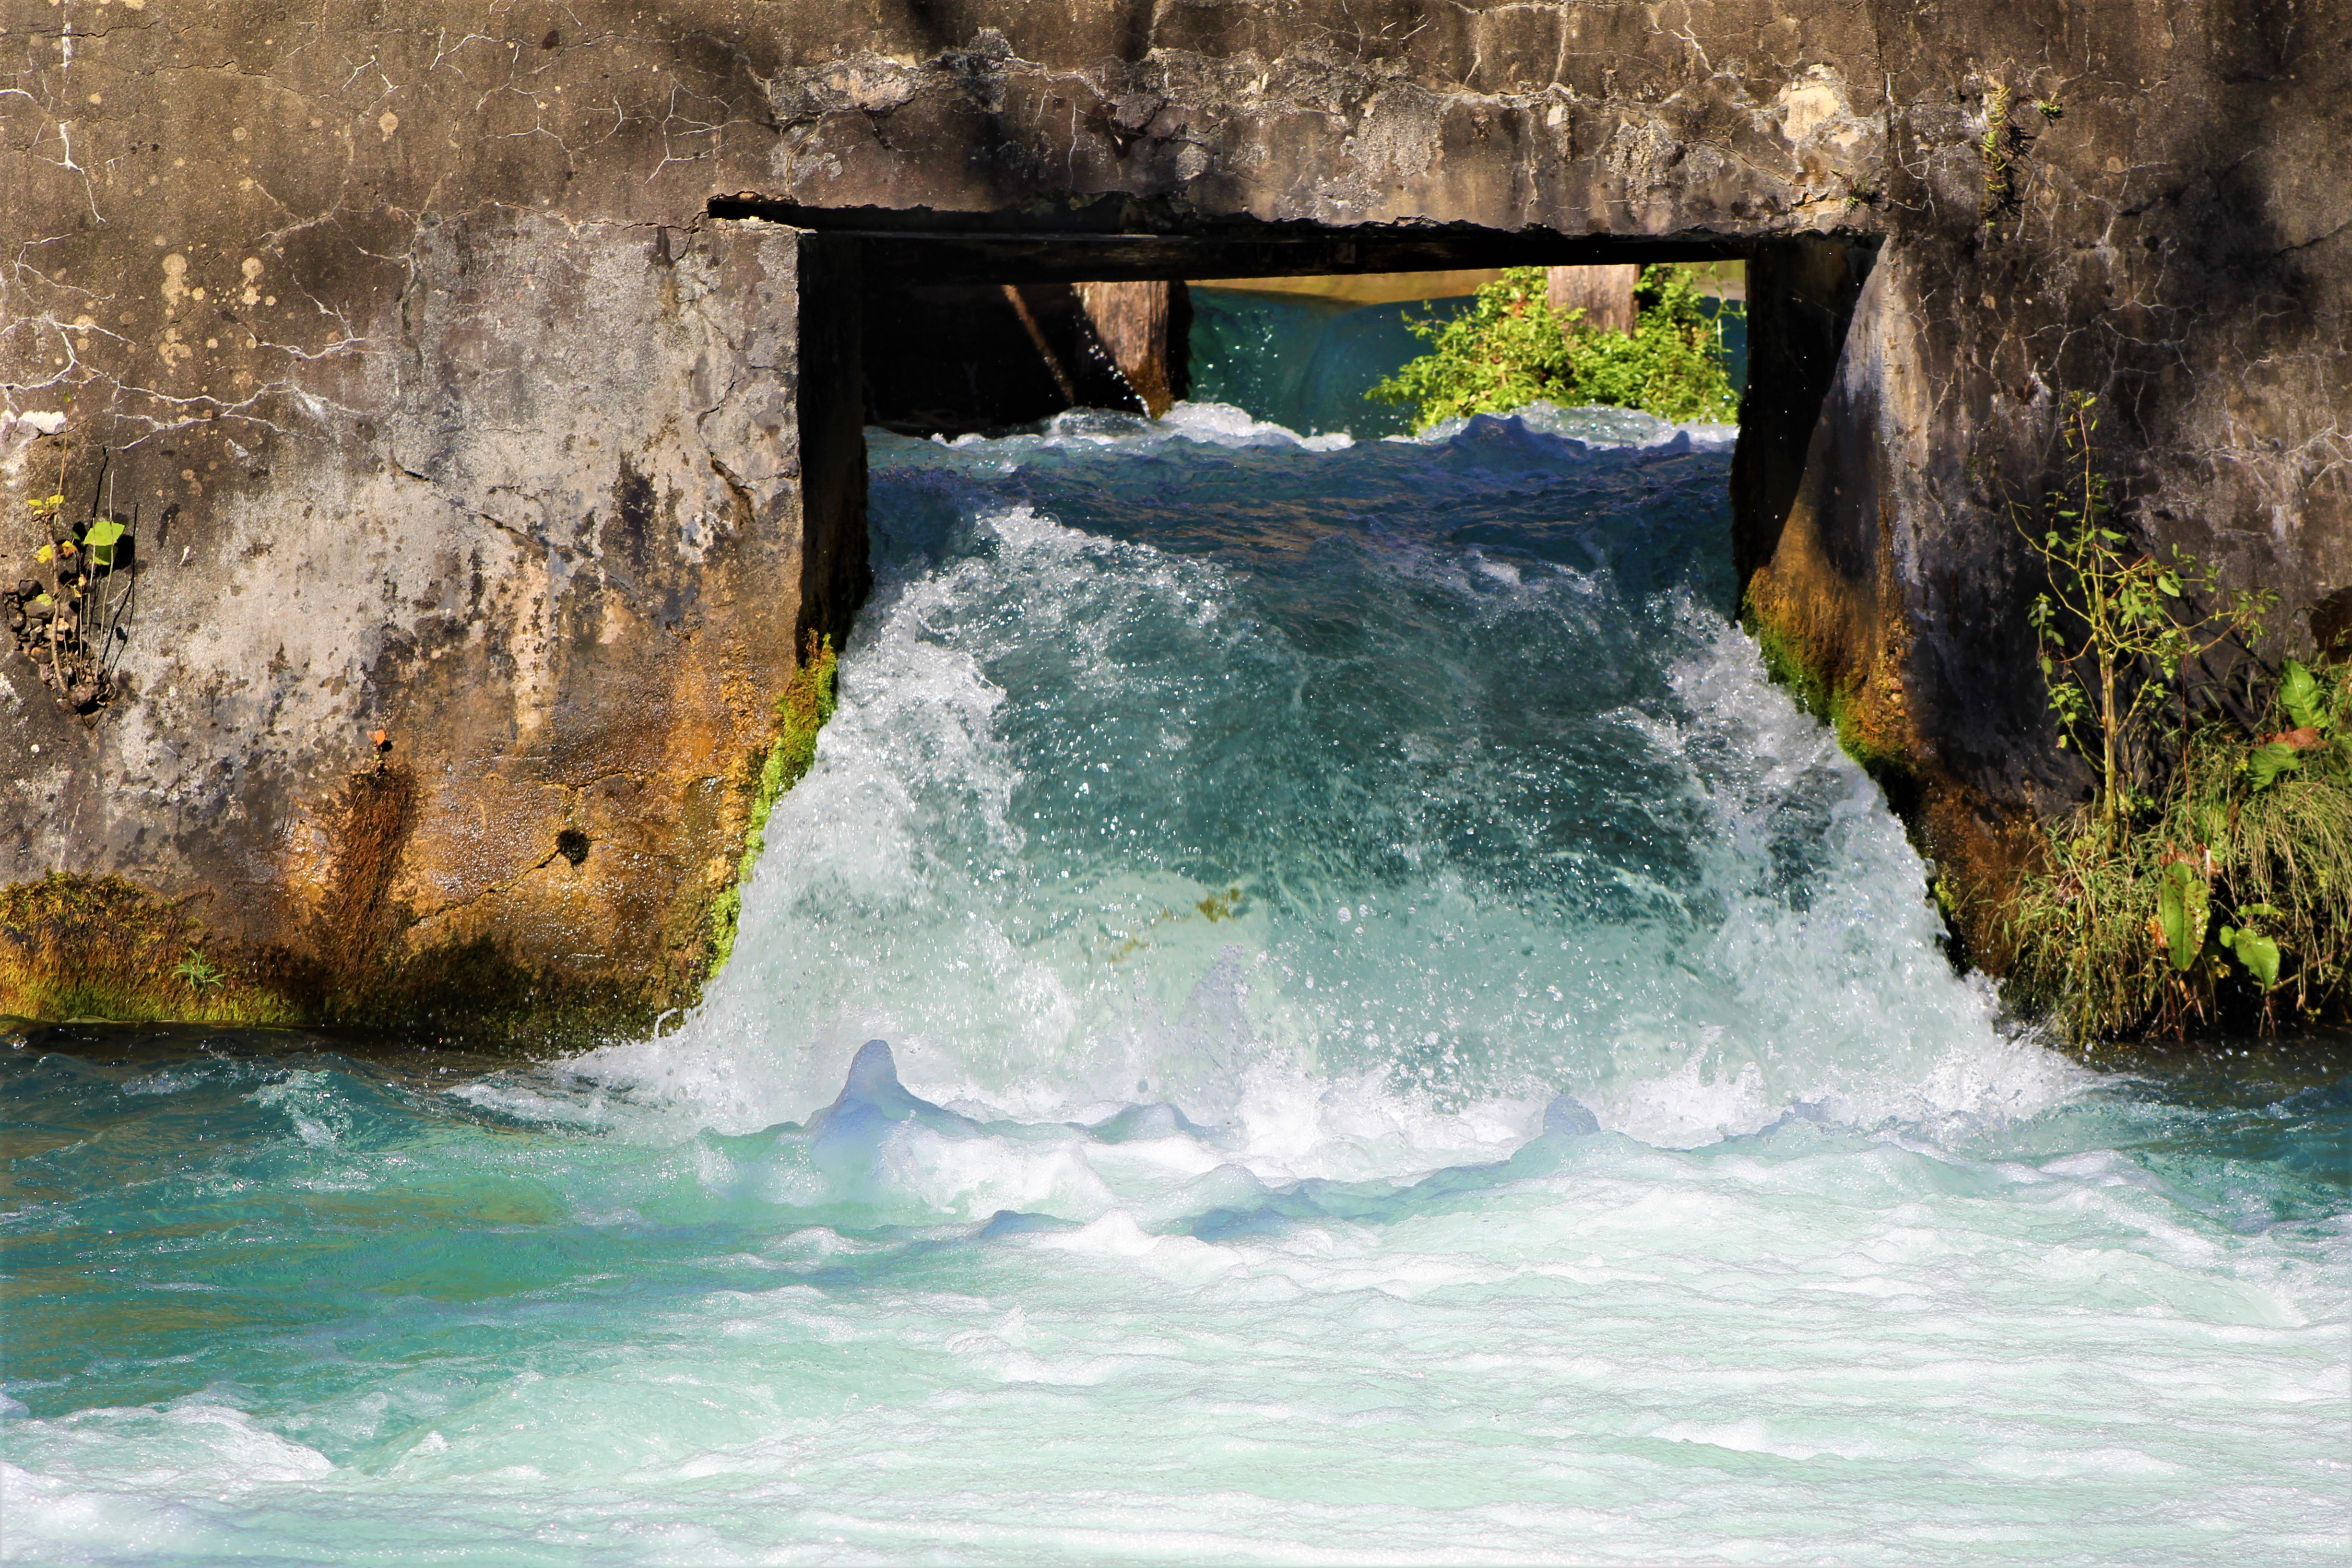


I’ve seen SO many pictures of this place on photography forums and Missouri parks forums that I follow and after seeing it in person, I understand why. The mill makes for impressive photographs, especially if you have good light ( I didn’t, it was too bright and my photos look washed out because of it) and can capture the deep red of the mill against the spring’s turquoise water. Yes, the water IS actually that color in person, I did not ramp the color way up in these pictures AND they were taken in mid-day in full sun! There were some cool little caves along the path, though not for human exploration. They were gathering up a big group of horses for a trail ride when we first arrived. We stopped to look at the hoof-prints in the mud on the way out and chat with a couple whose toddler wanted to pet Bowie.
The trails were pretty calm, there’s lots to look at, if you want a quiet little daytrip with lots of photo ops, I’d highly recommend it. If you have busy toddlers that like to run from you like the couple at the end, I would recommend keeping them strapped to you on the trail- it’s high up, narrow and the water below is running VERY fast over some rather large boulders underneath. You don’t want to have to swim for your kid (or dog!) in it.
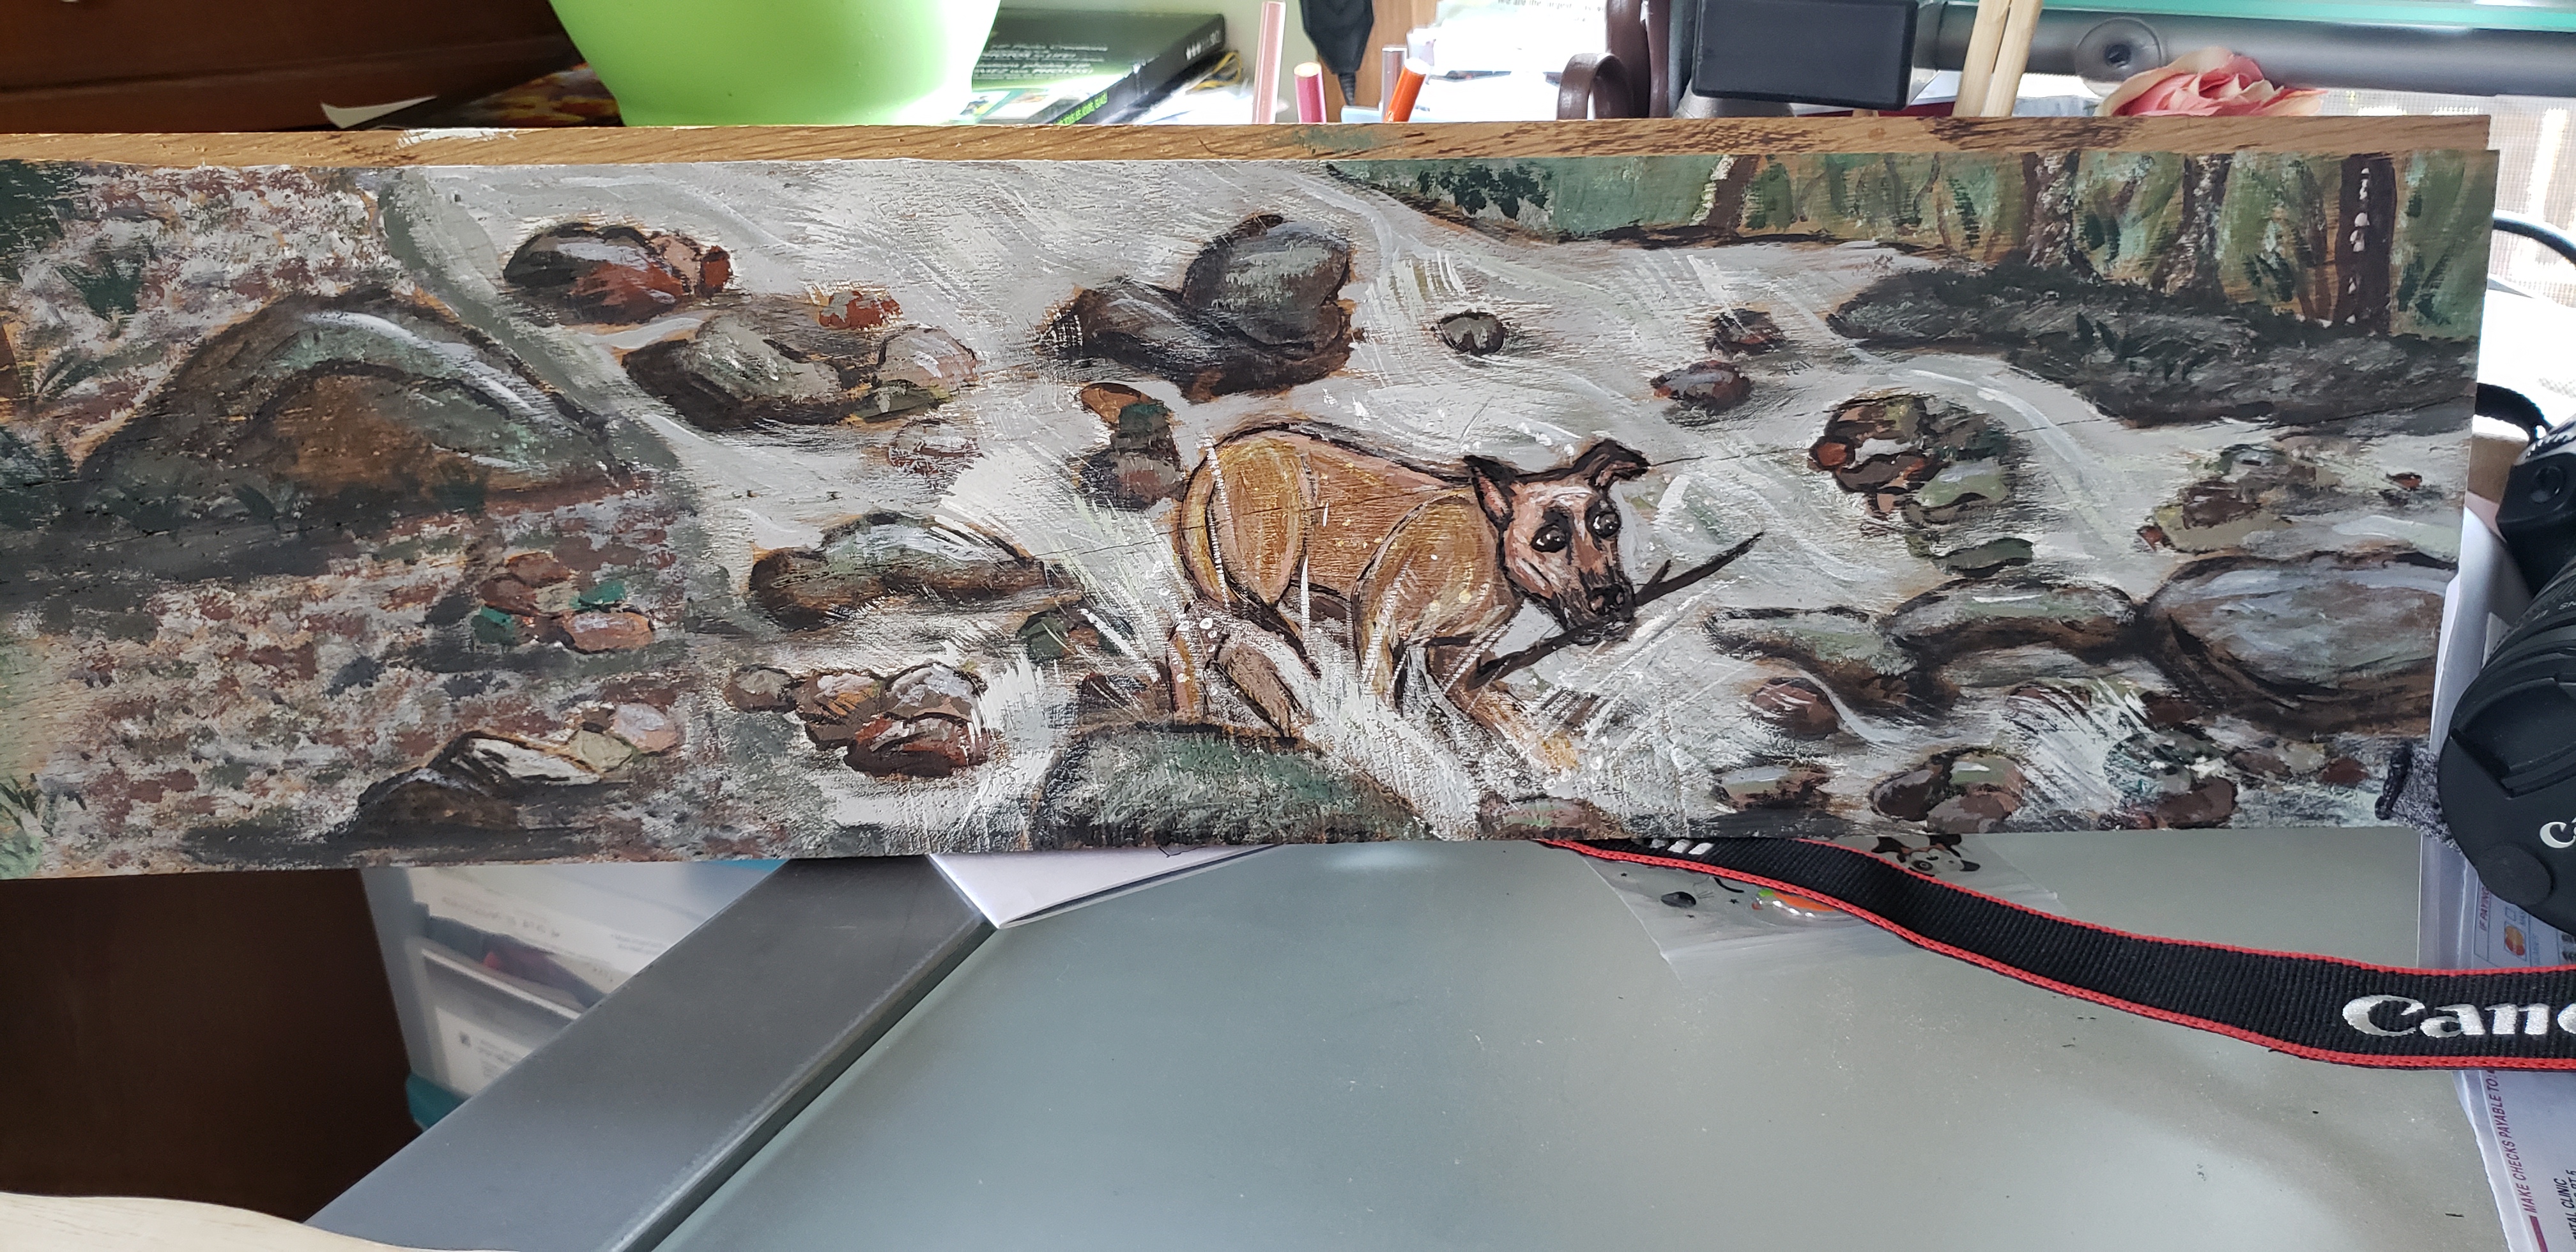
I recently did a painting of the one of the pictures I took on a saw blade. You can see it on Etsy here:

https://www.etsy.com/listing/891211240/alley-mill-springs-on-antique-handsaw
It’s of that same iconic shot below the mill that all the photographers like to take.
My daughter loves to visit anyplace with water. Have any recommendations for us in Missouri? We’d love your suggestions!
-B